
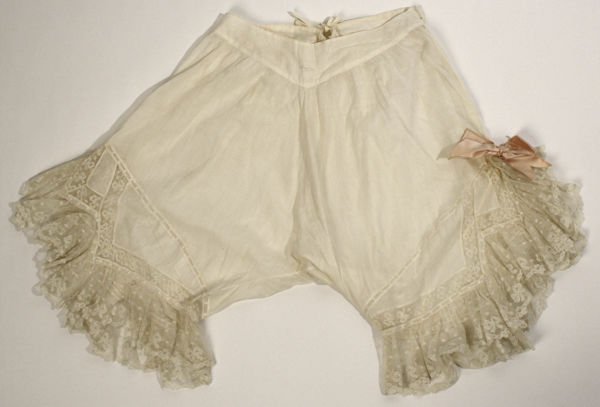
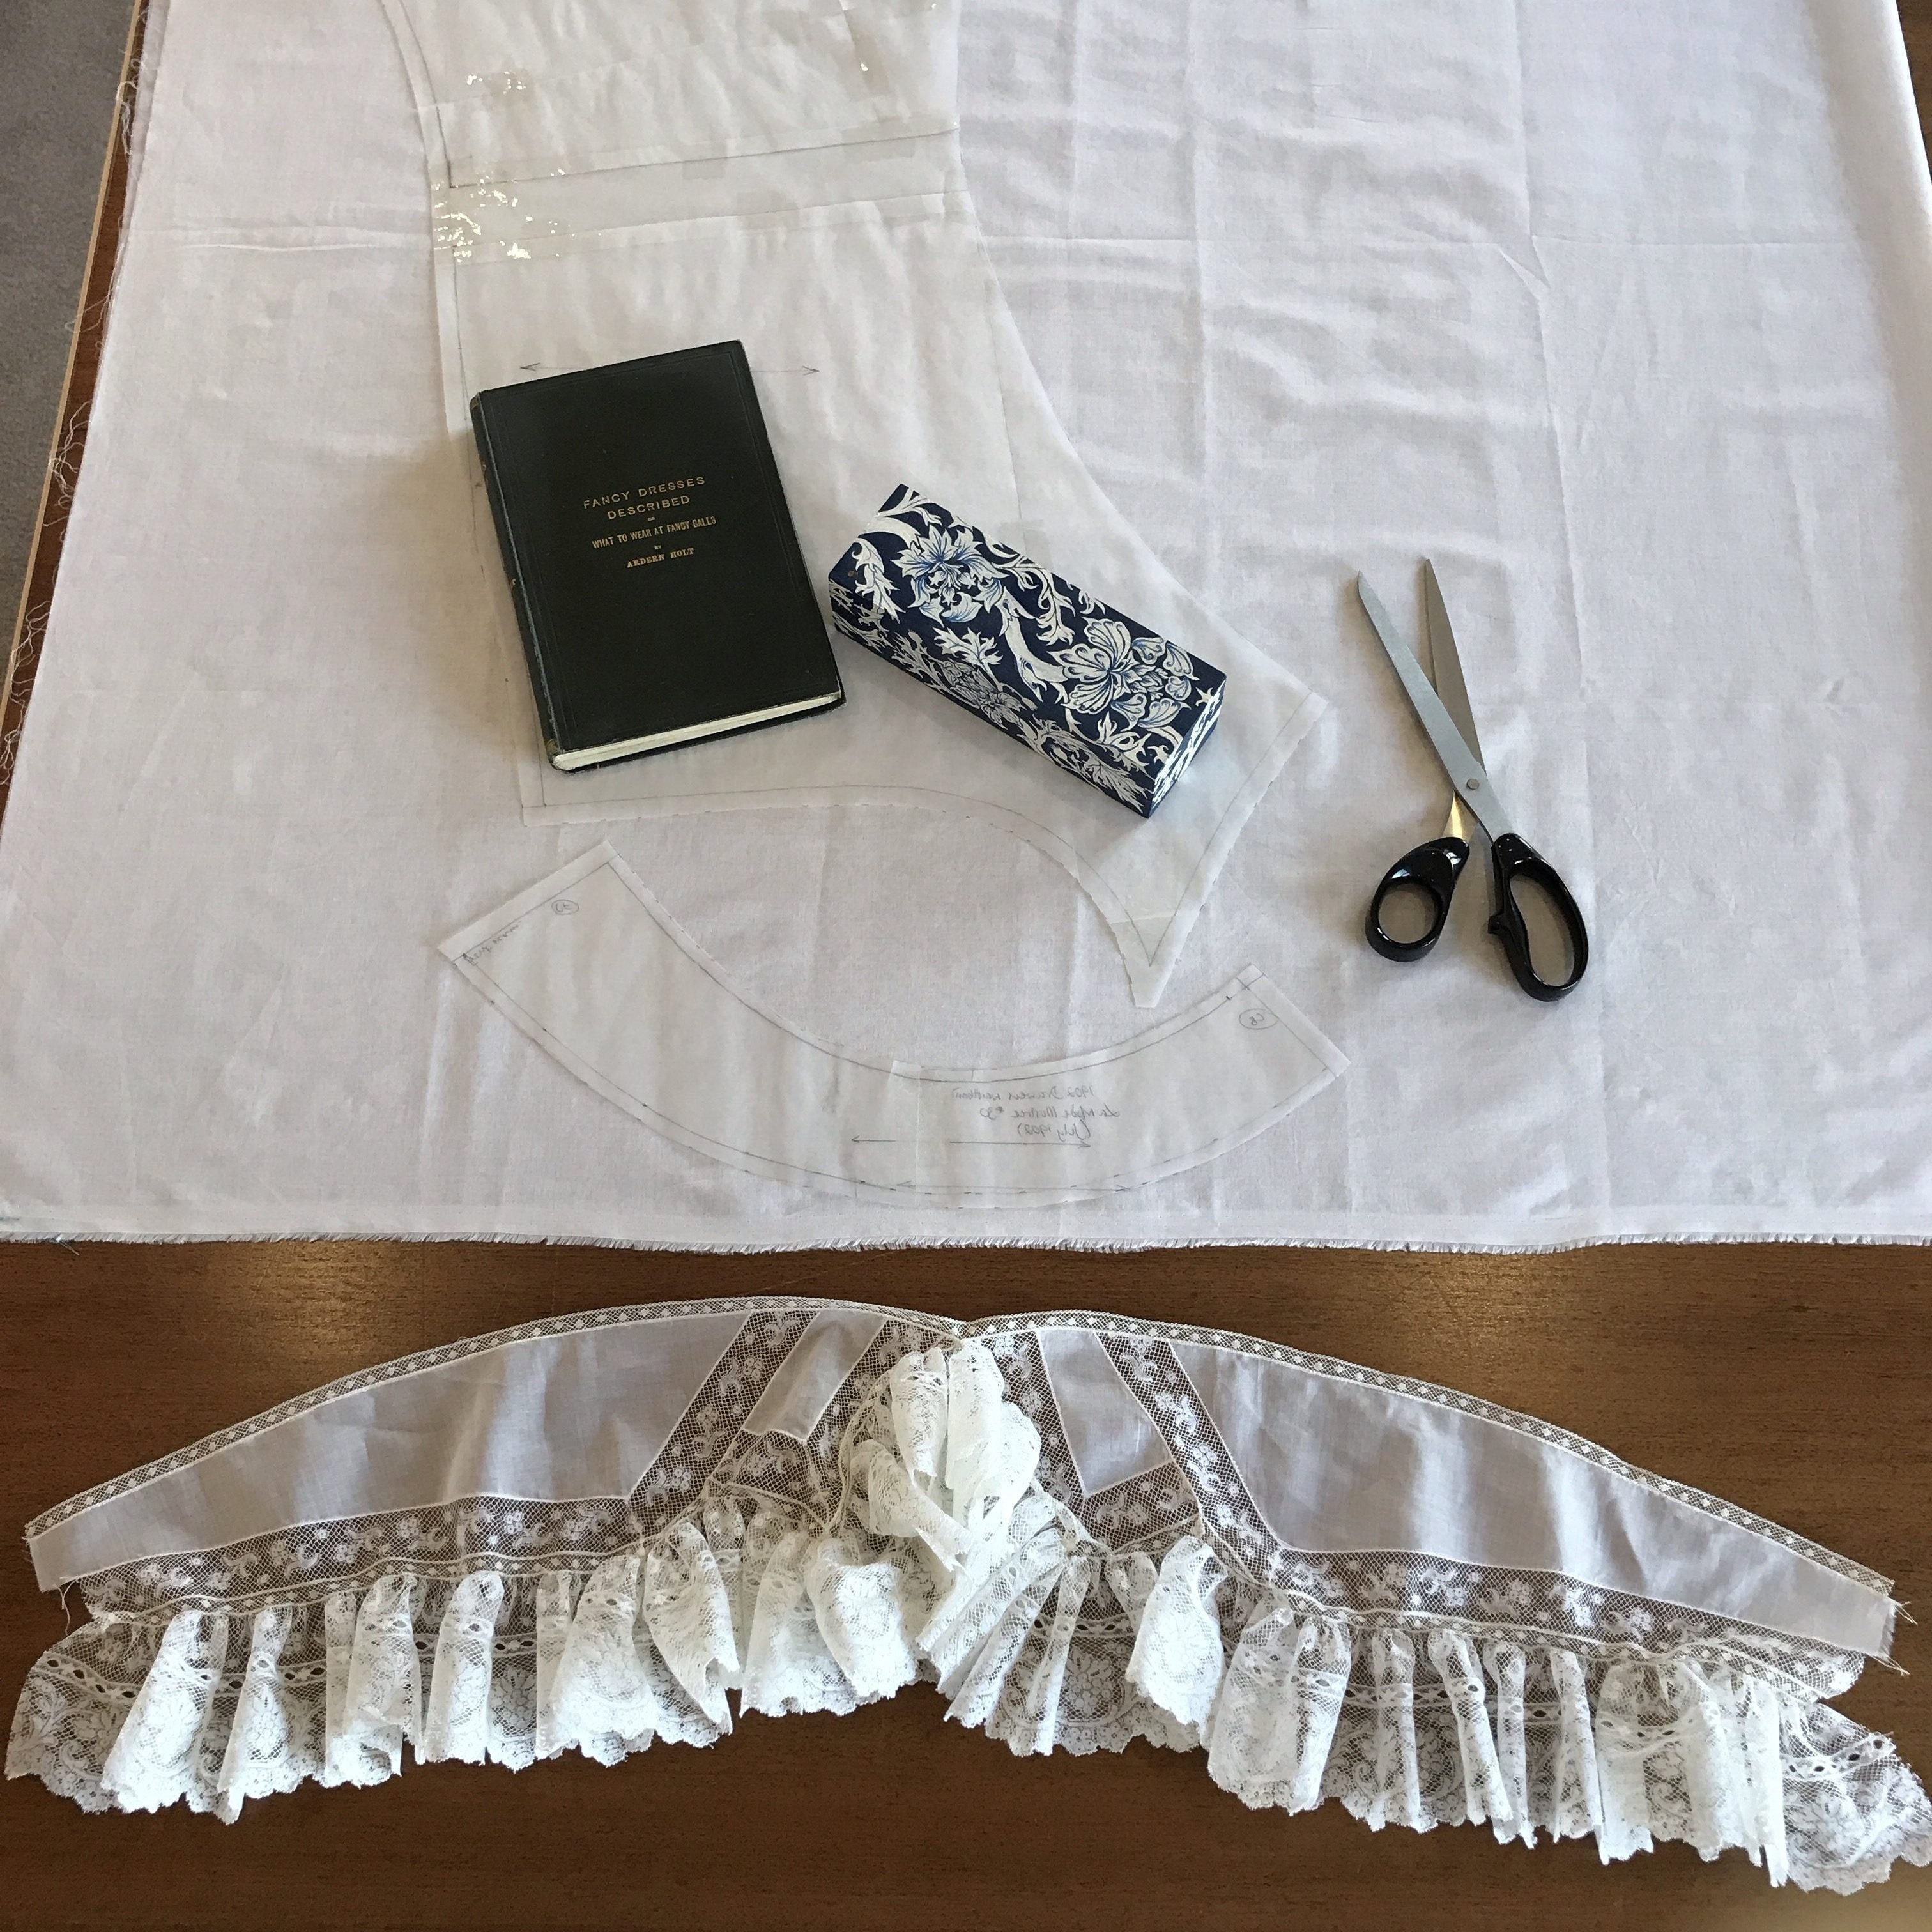
1. Select inspiration image. Spend 8 years looking for just the right lace.
2. Find correct lace at Lacis in Berkeley, California.
3. Meanwhile, peer at low resolution image for 8 years, plotting.
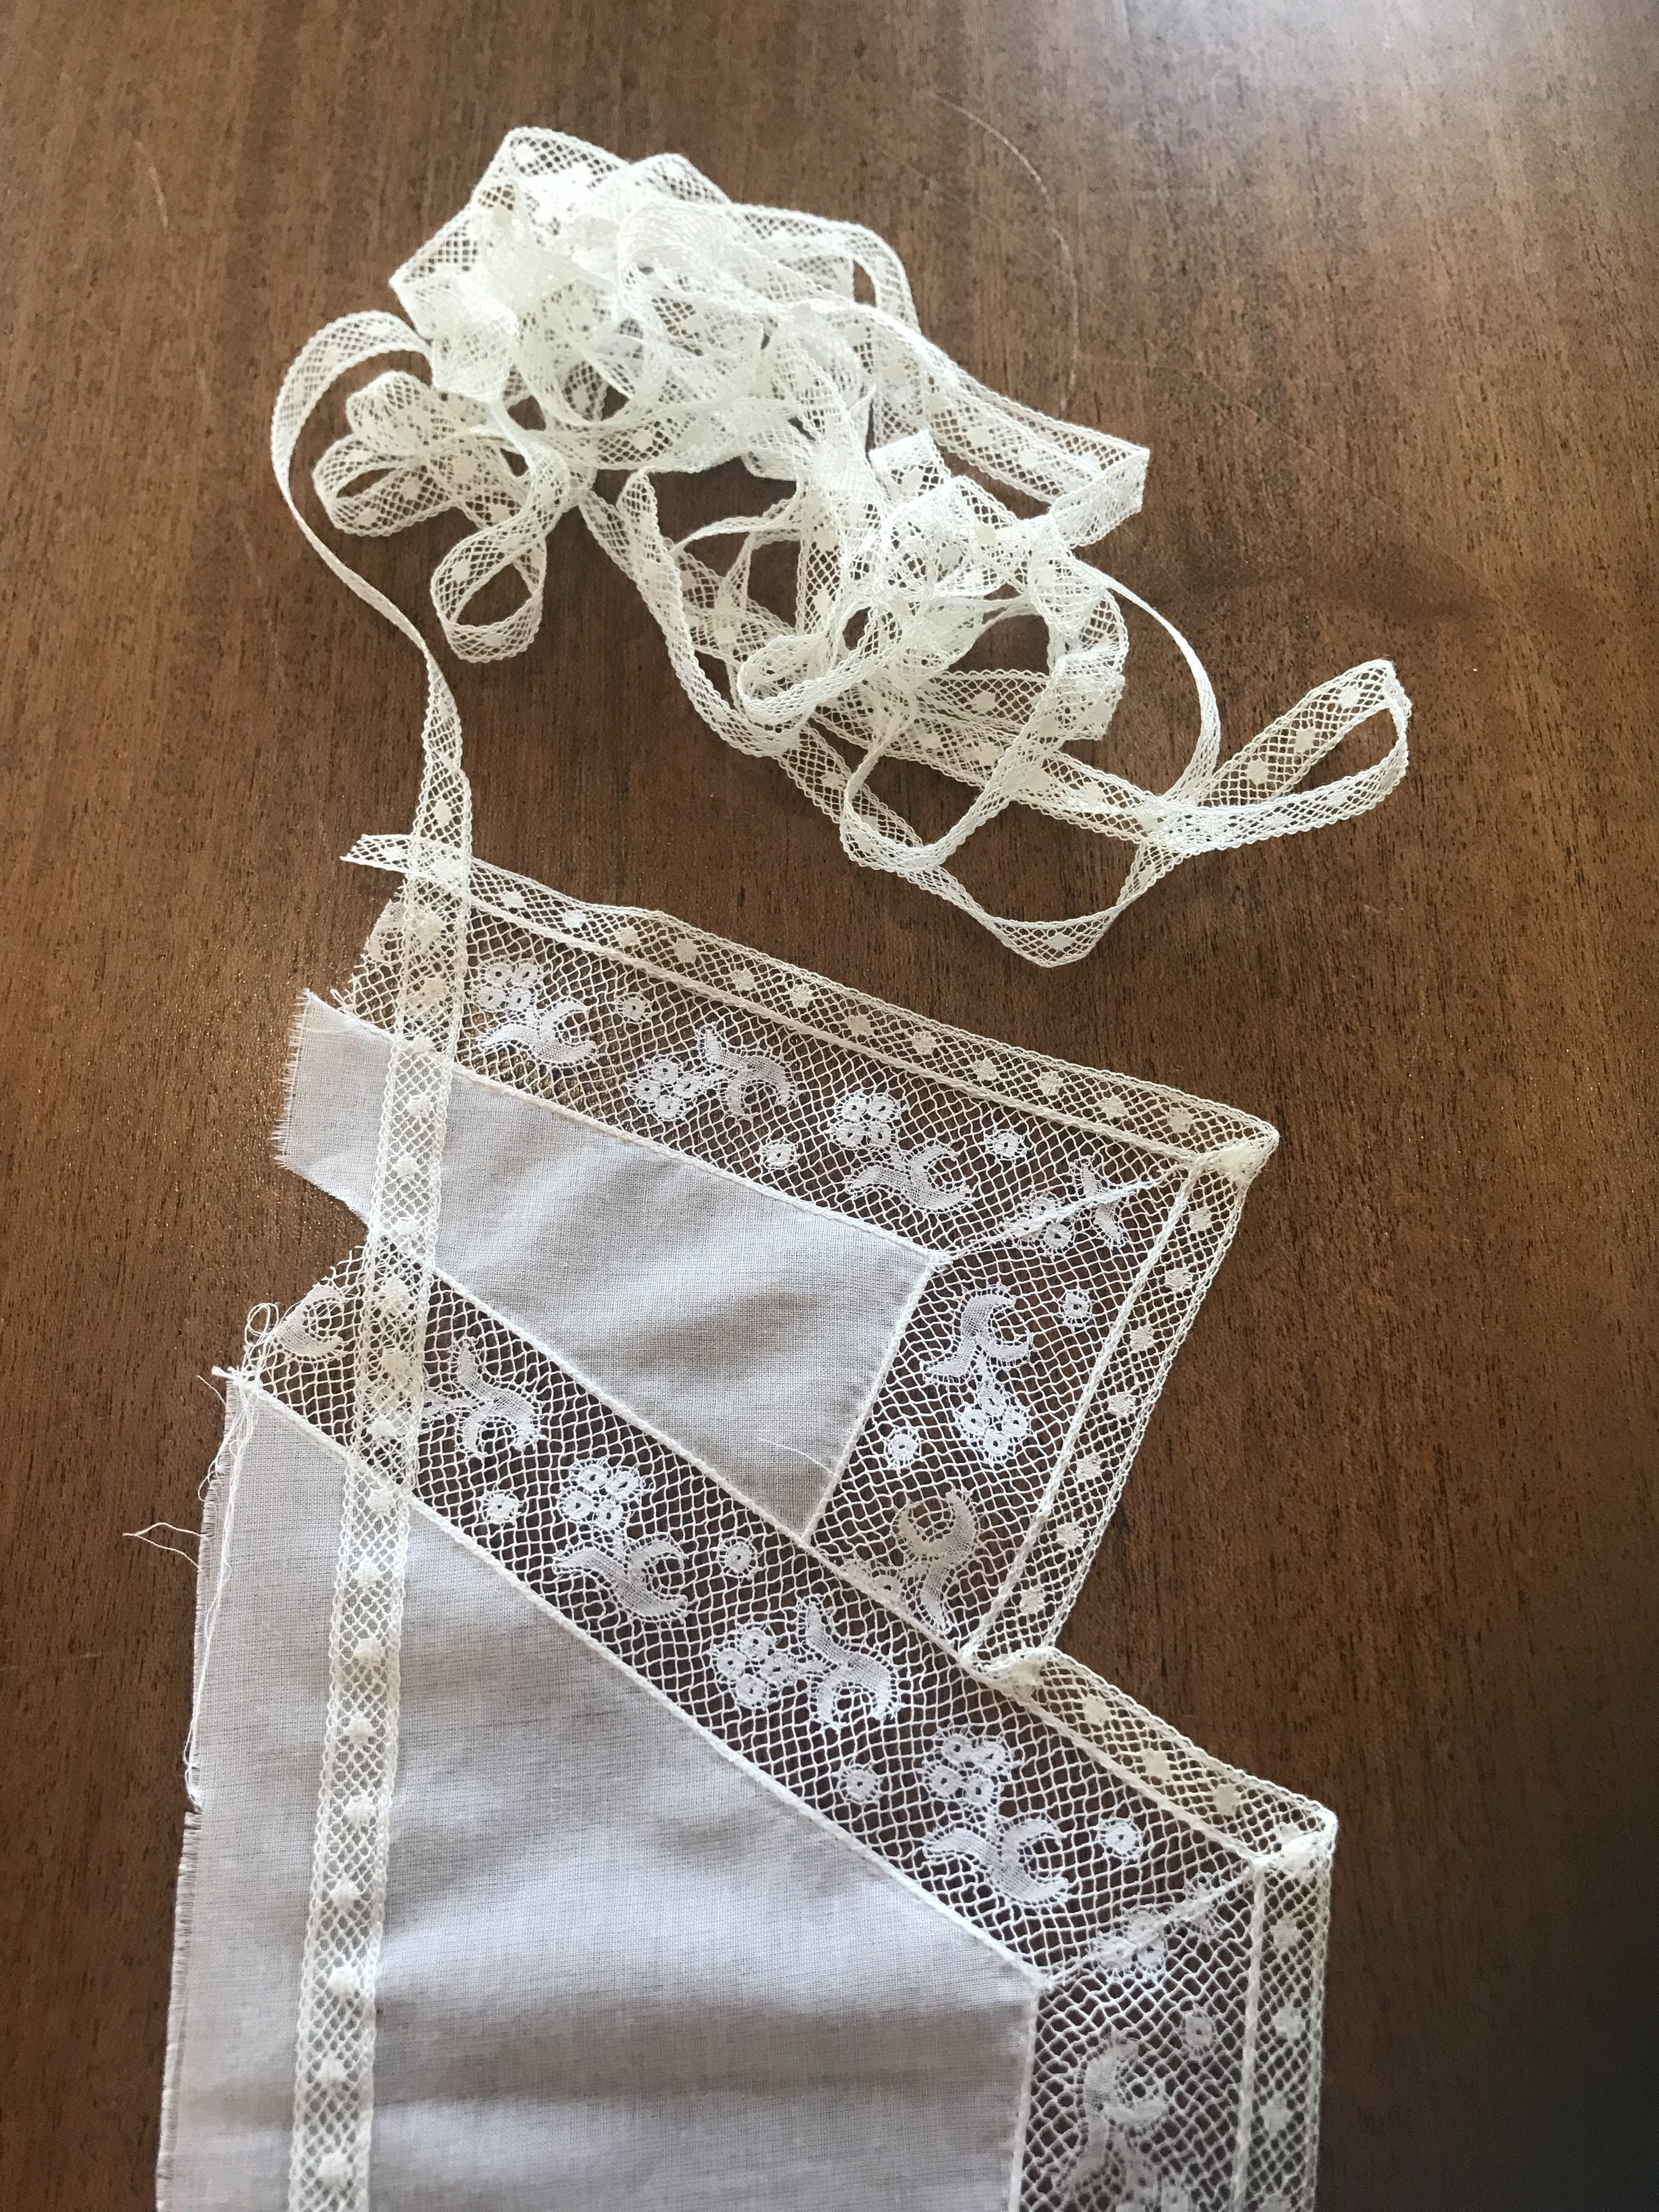
4. Make tracing paper template for lace pattern. Cut lace pieces to fit.
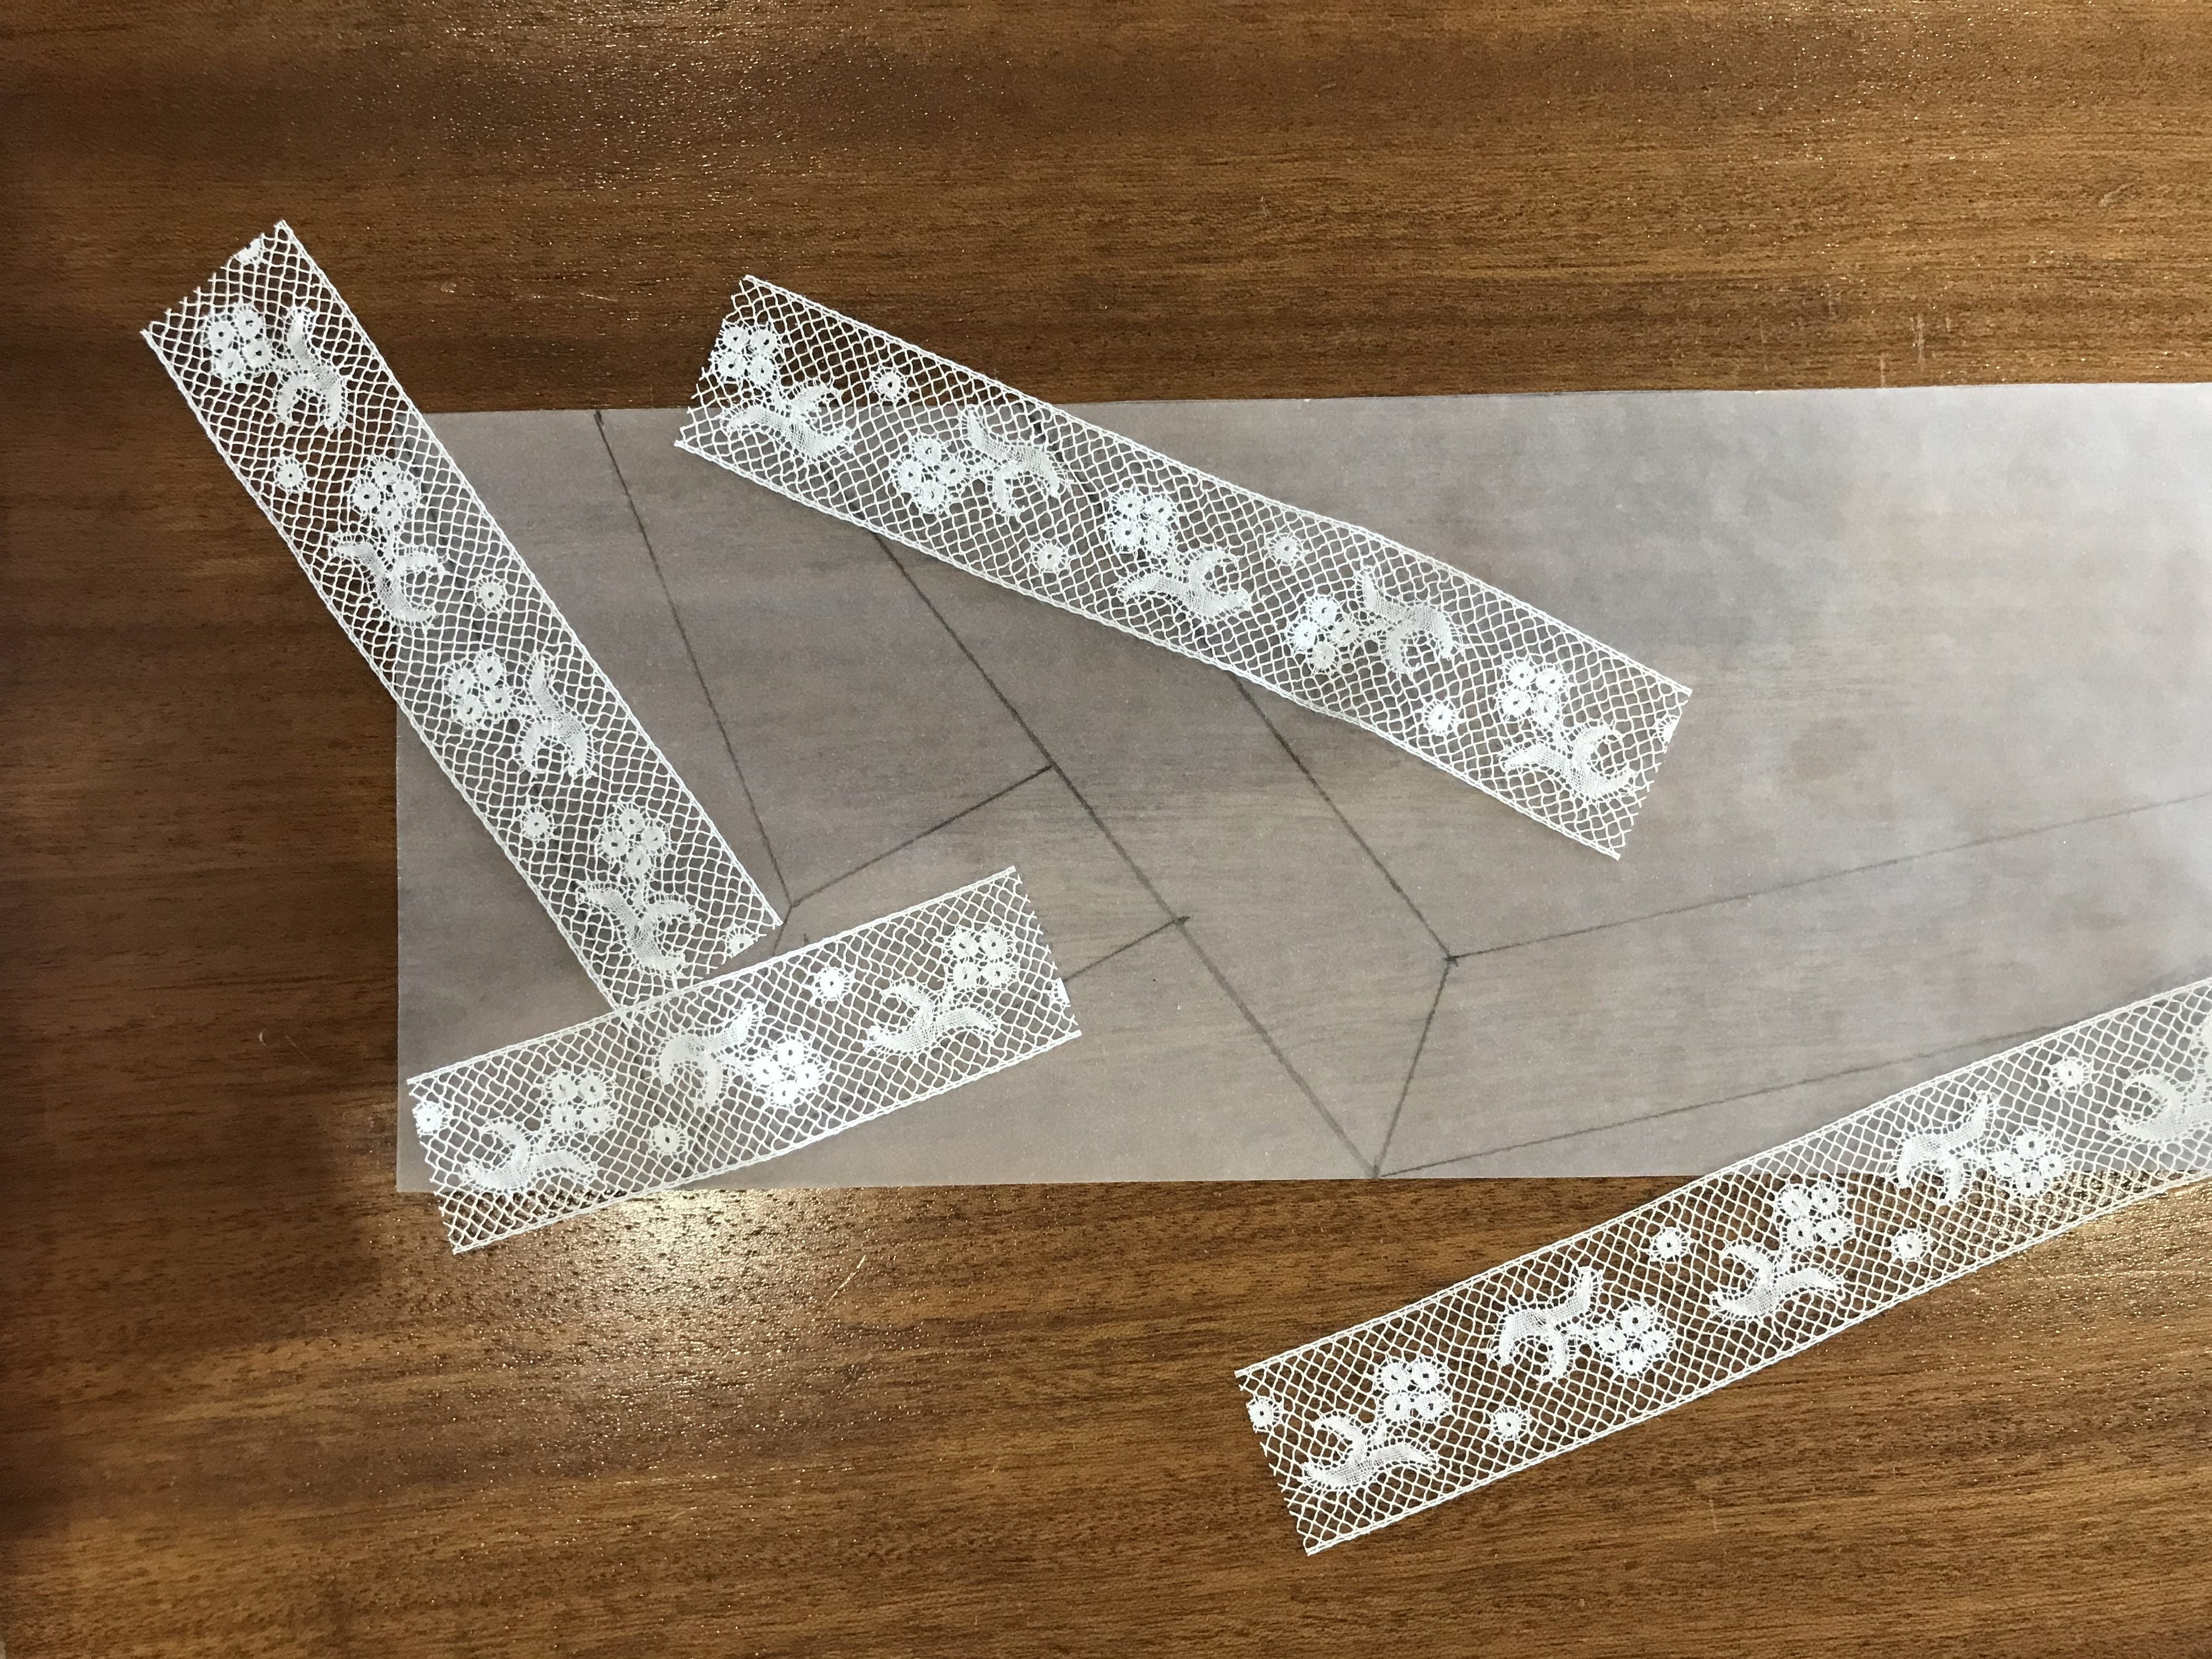
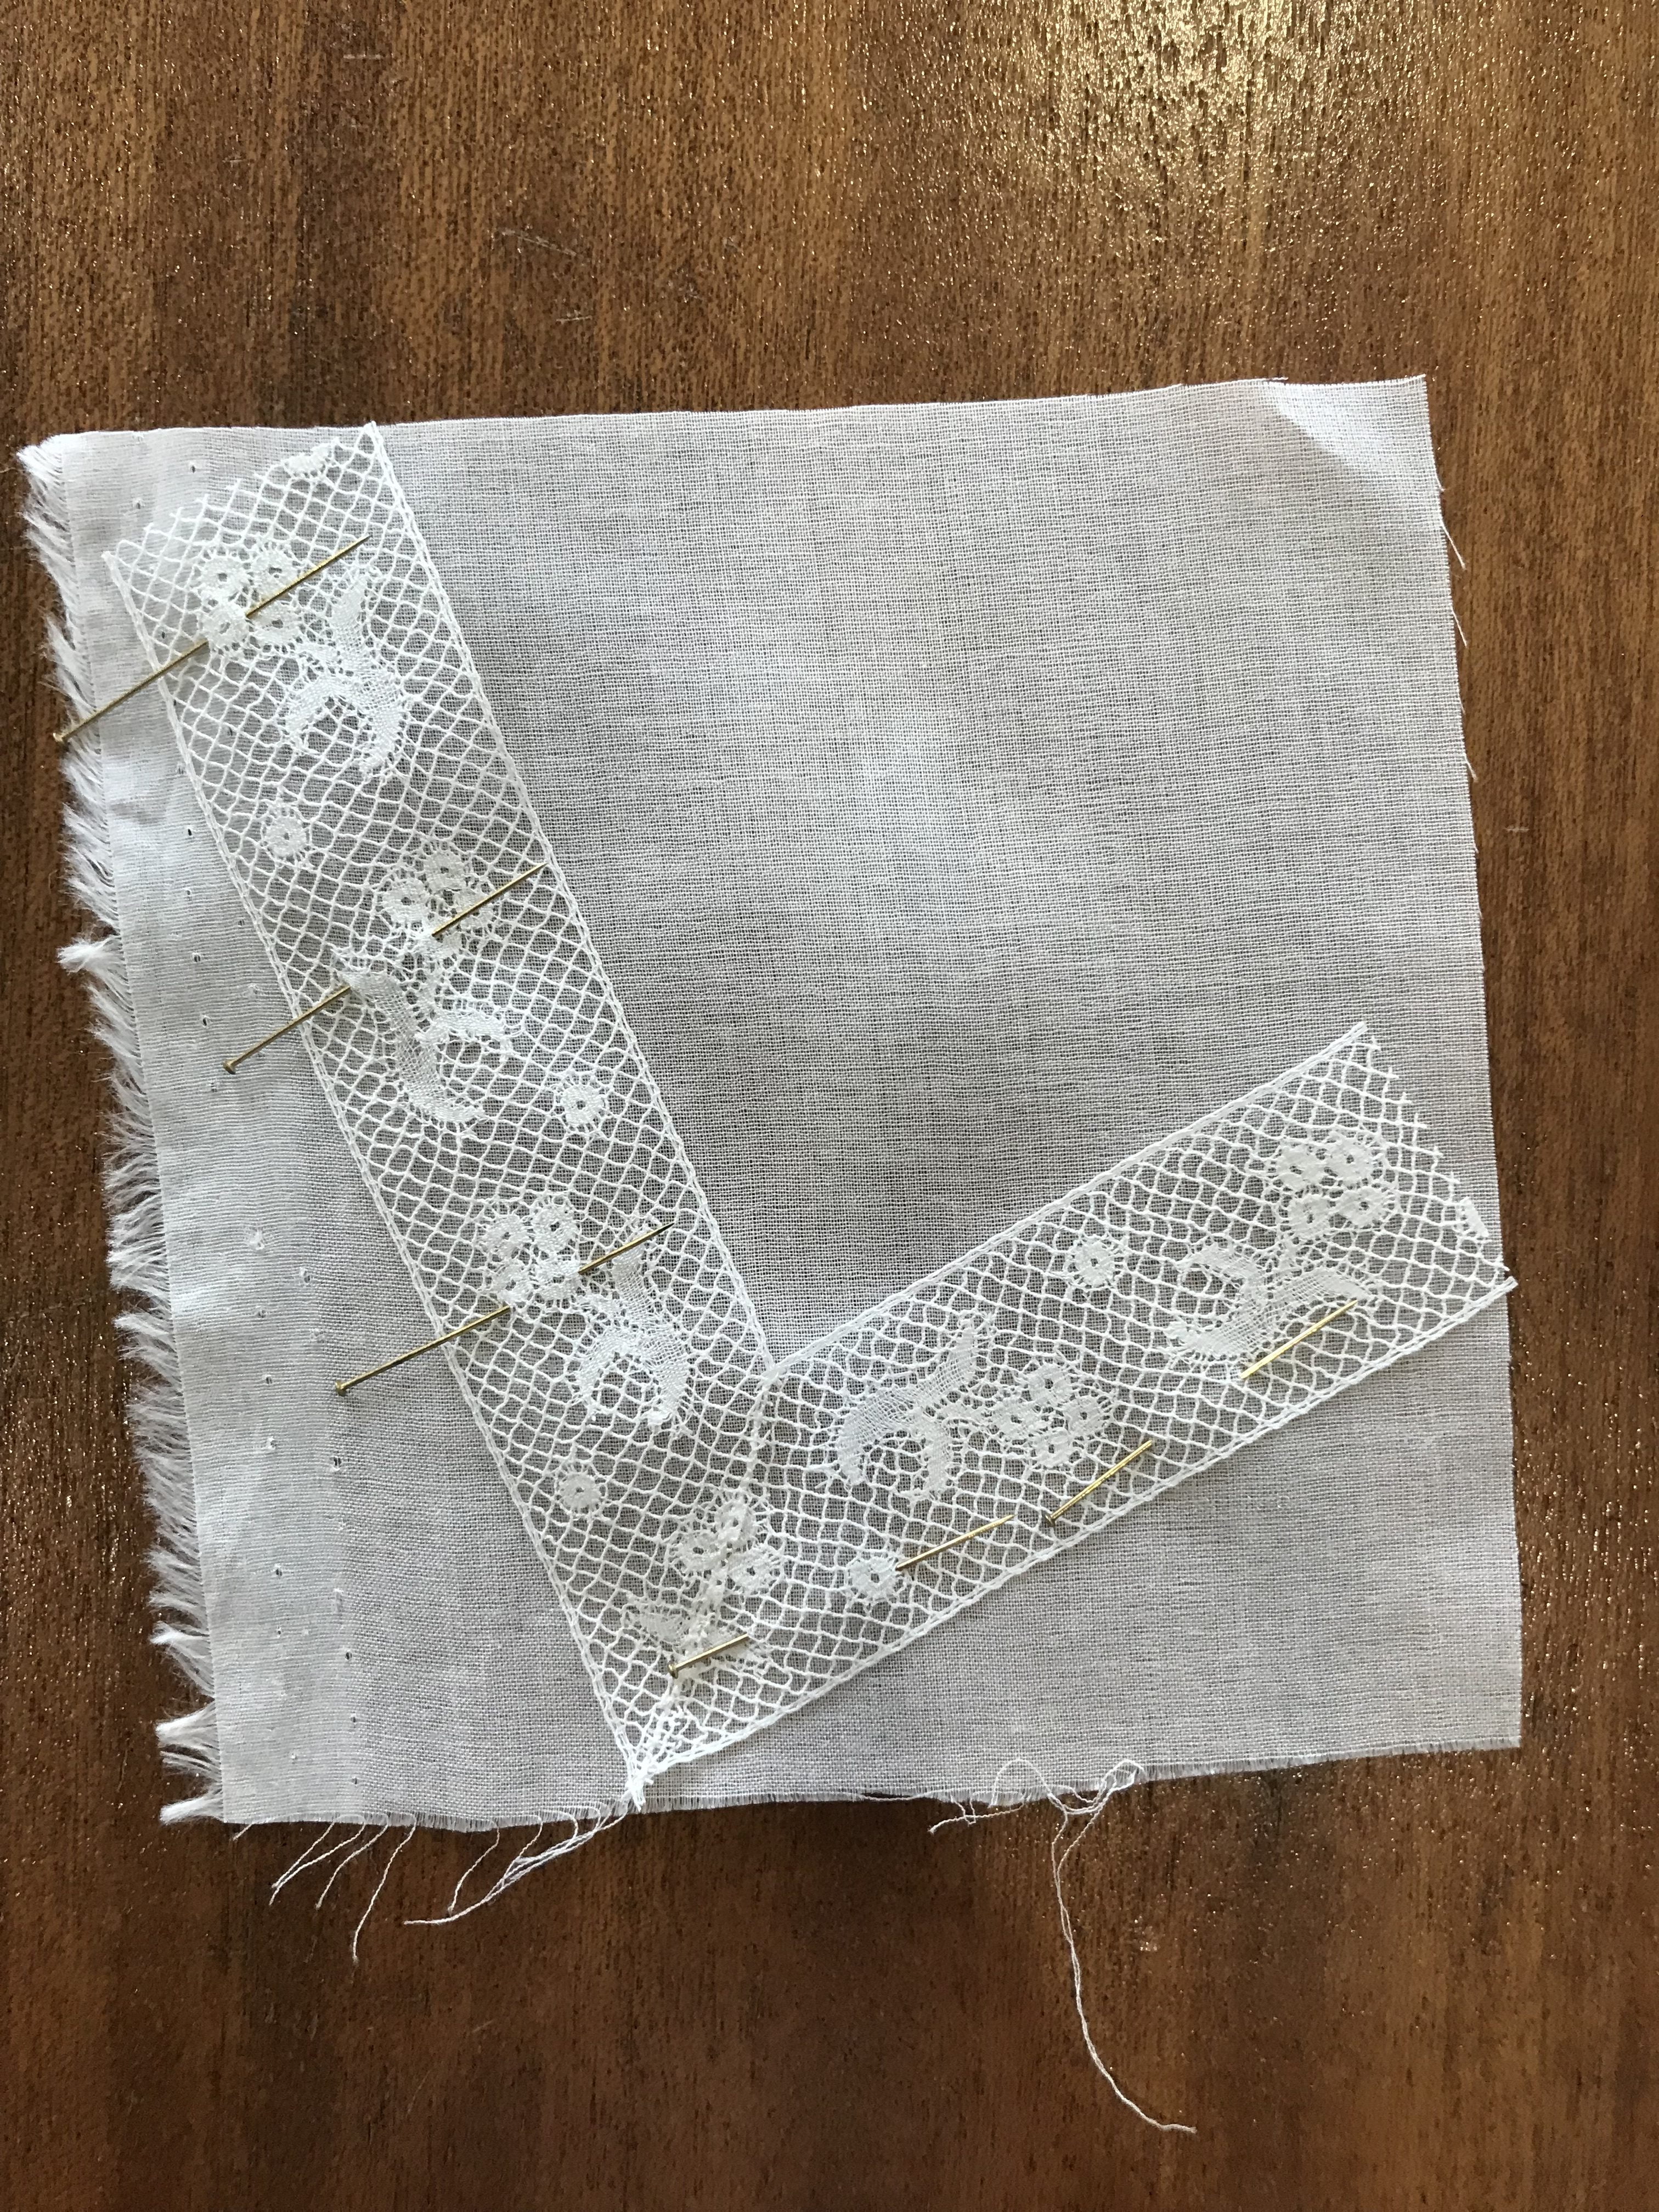
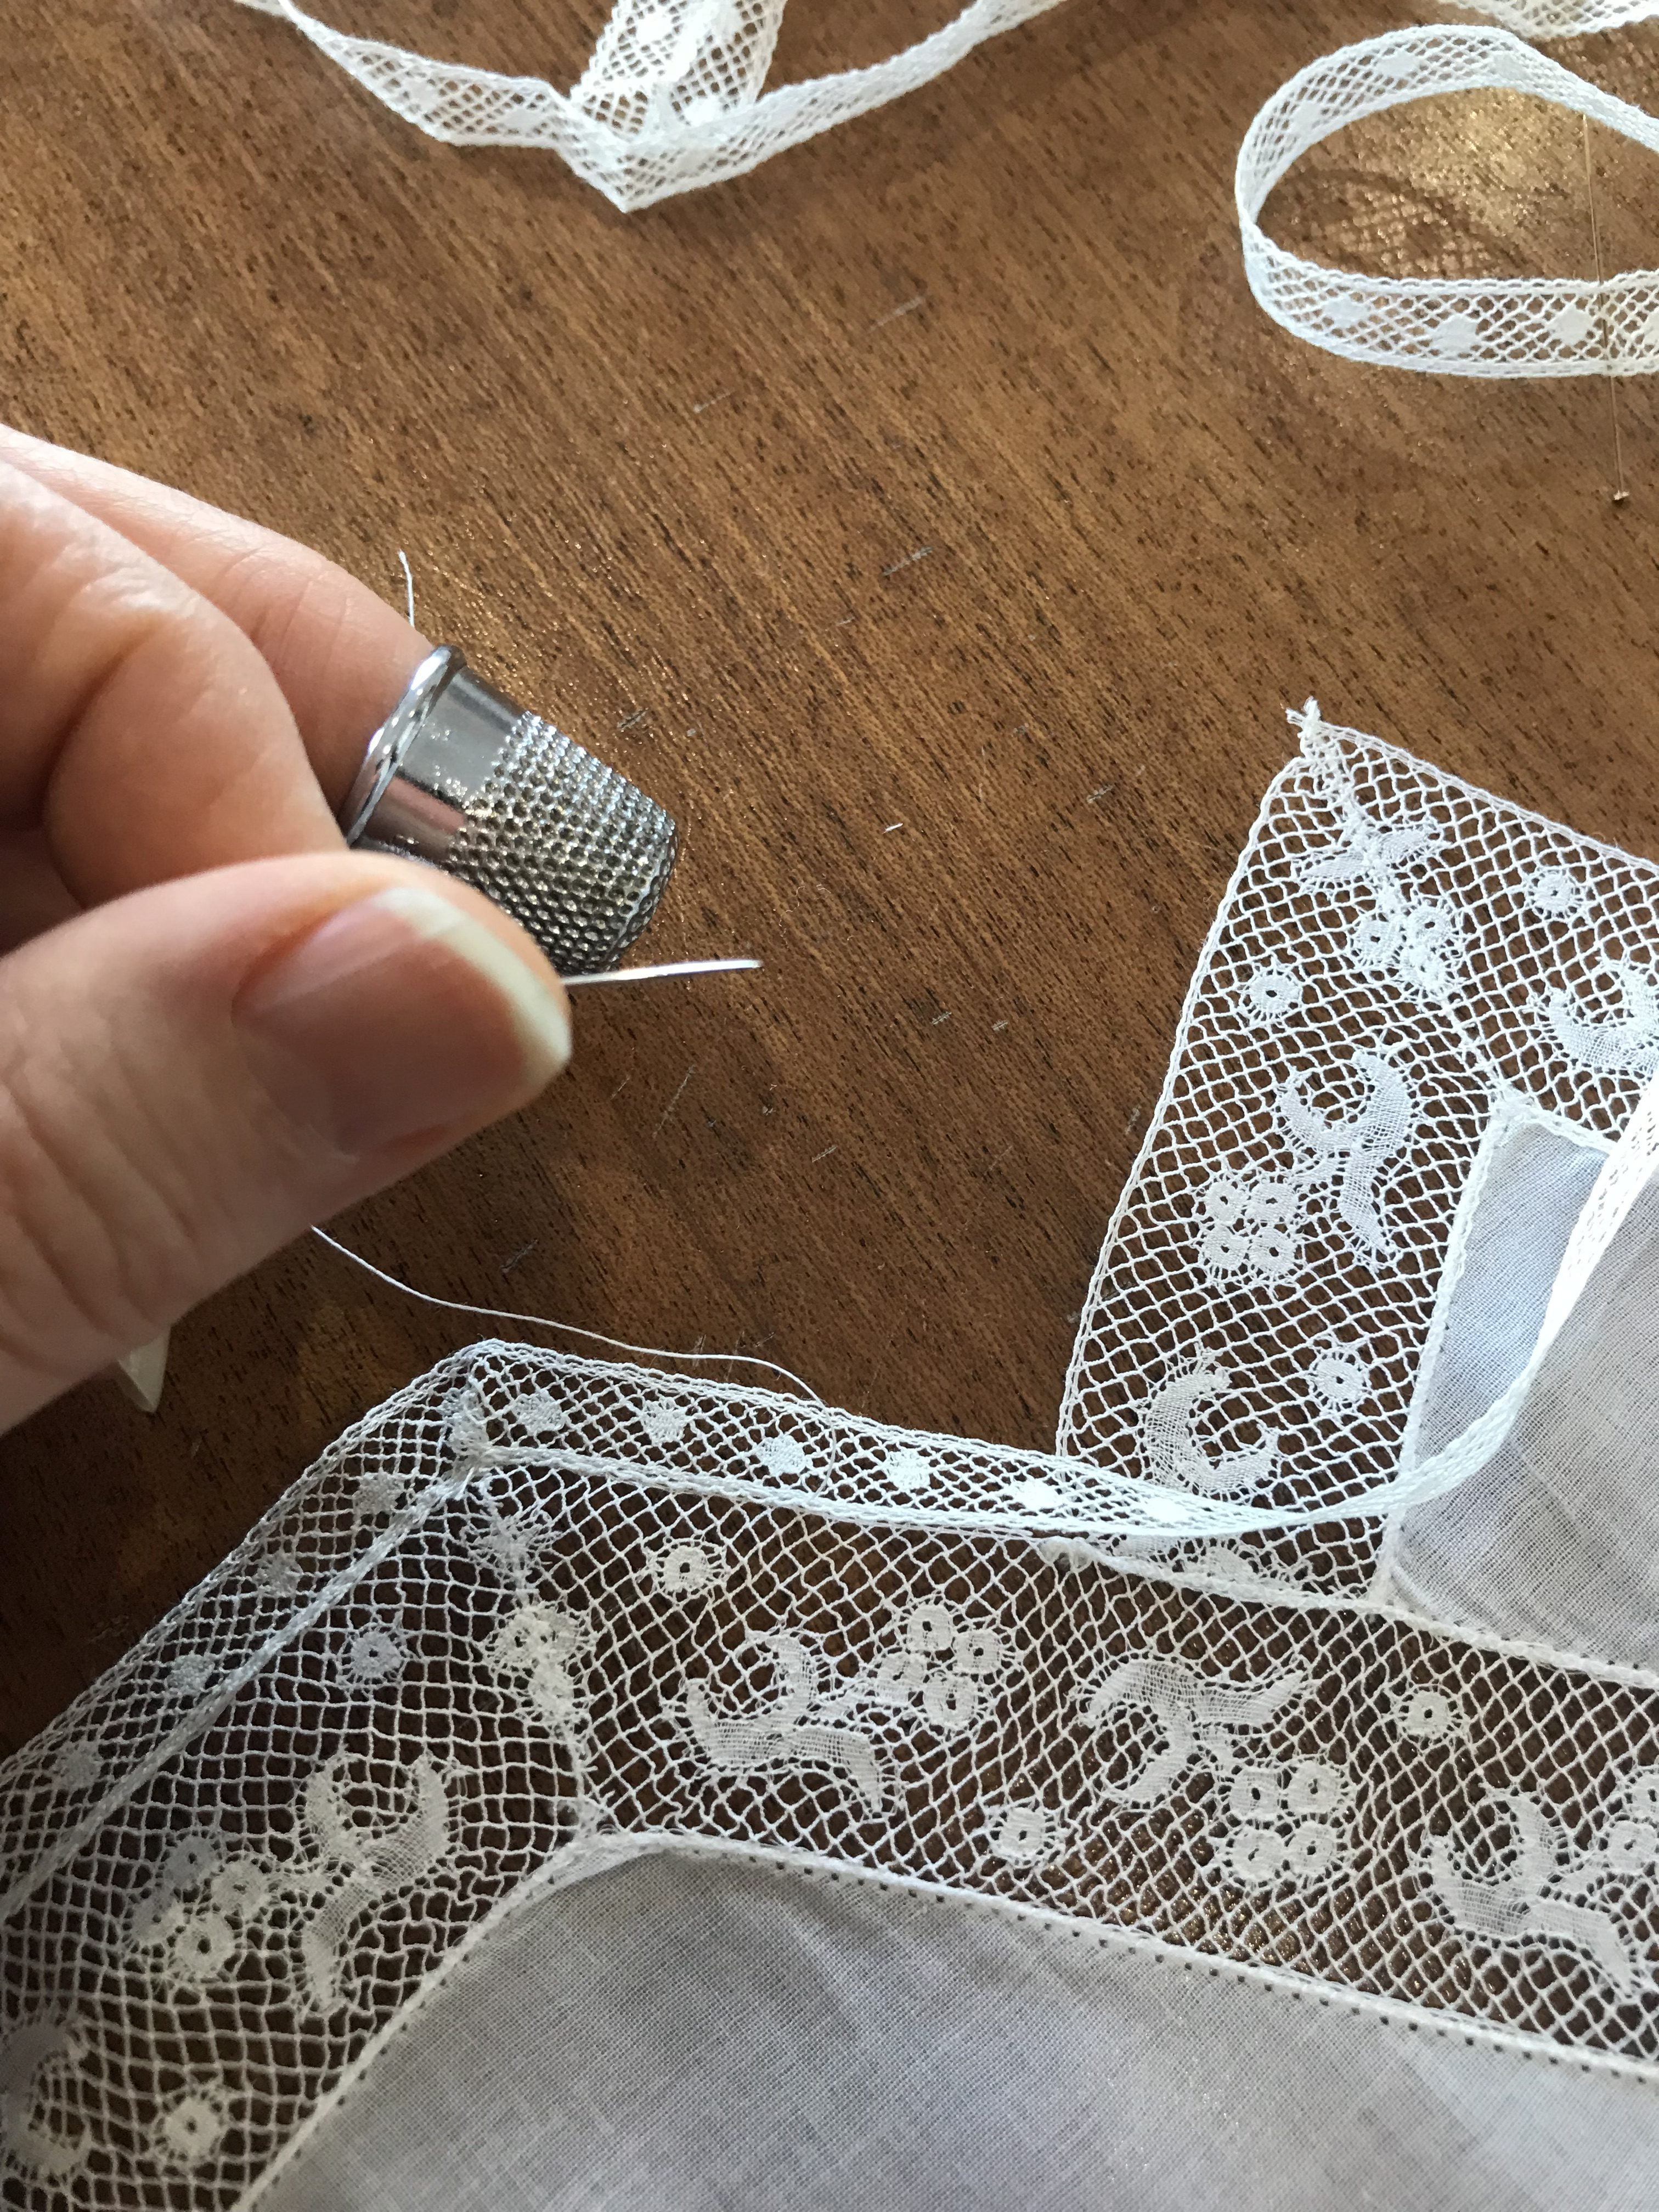
5. Spray starch lace pieces so that they resemble cardboard (insert criminal mastermind laugh of doom… now this diaphanous lace will be much easier to manipulate, inviting the envy of Instagram.) Pin, baste and finally sew lace with a 1mm wide, 1mm long zigzig. Trim.
 .
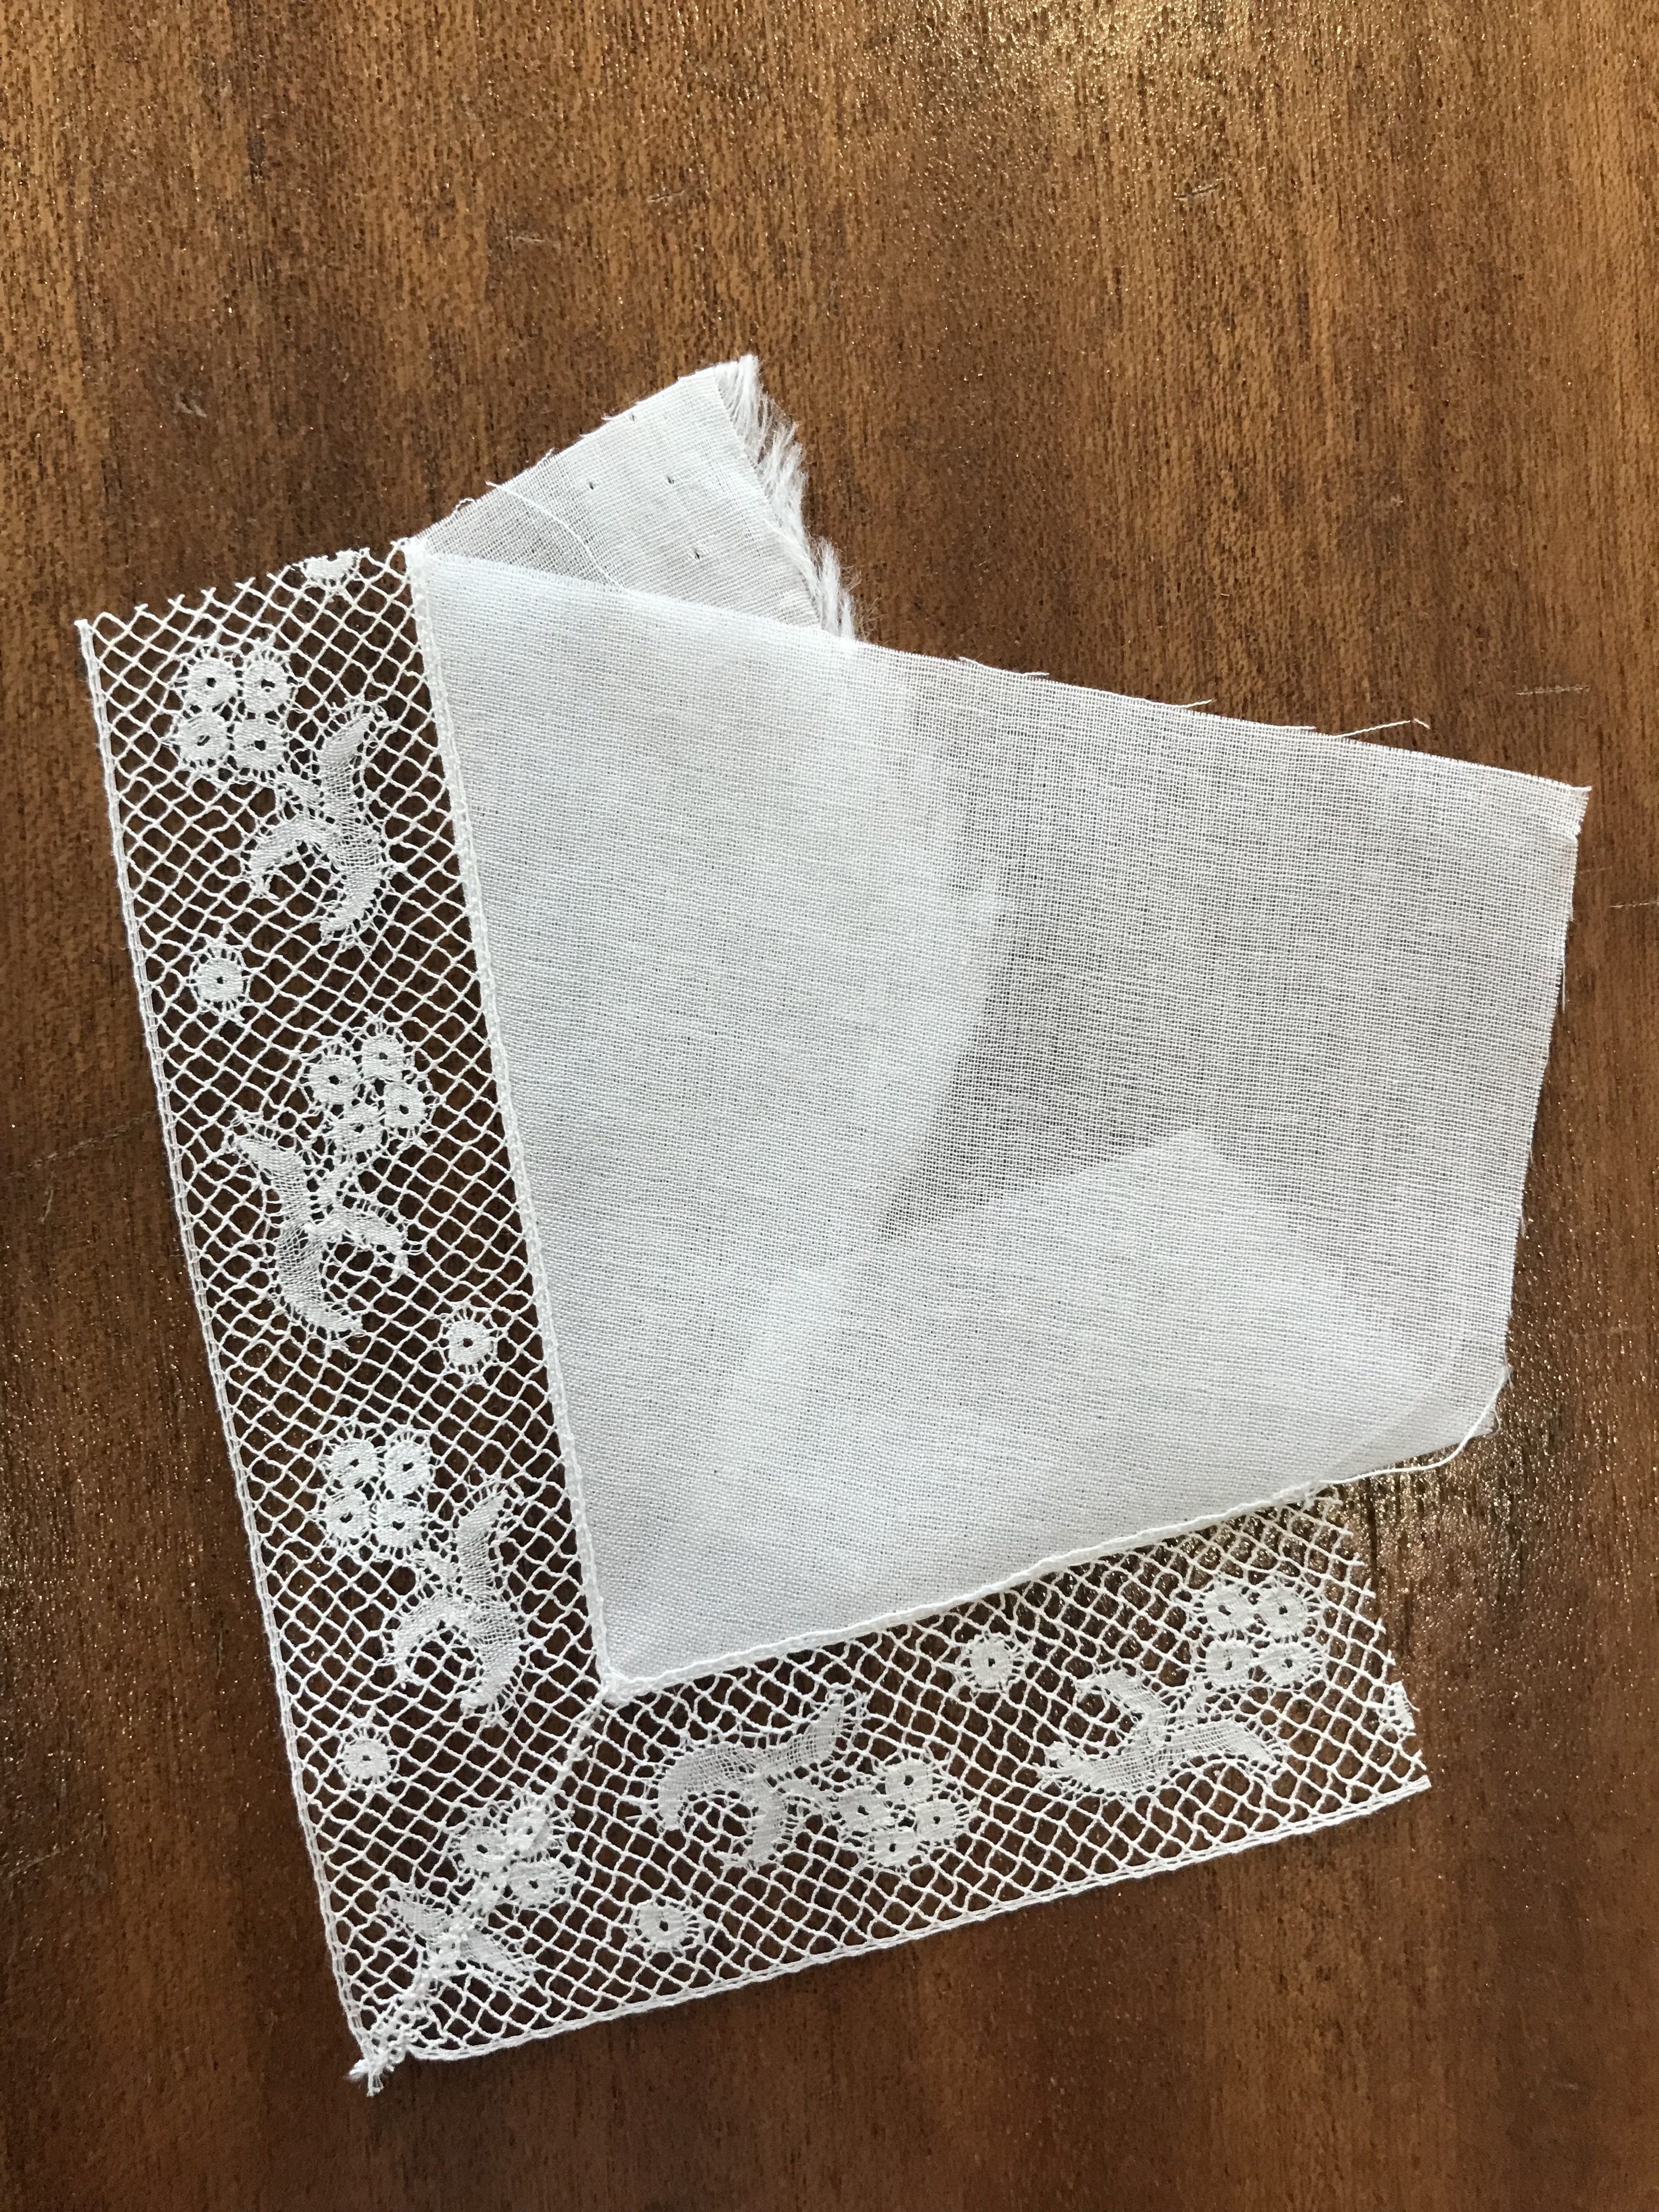
.6. Lay lace pieces onto fine cotton lawn. Pin and baste, and sew with a 1mm stitch length.
7. Press excess cotton back. Zigzag over the join and trim excess away (not shown).
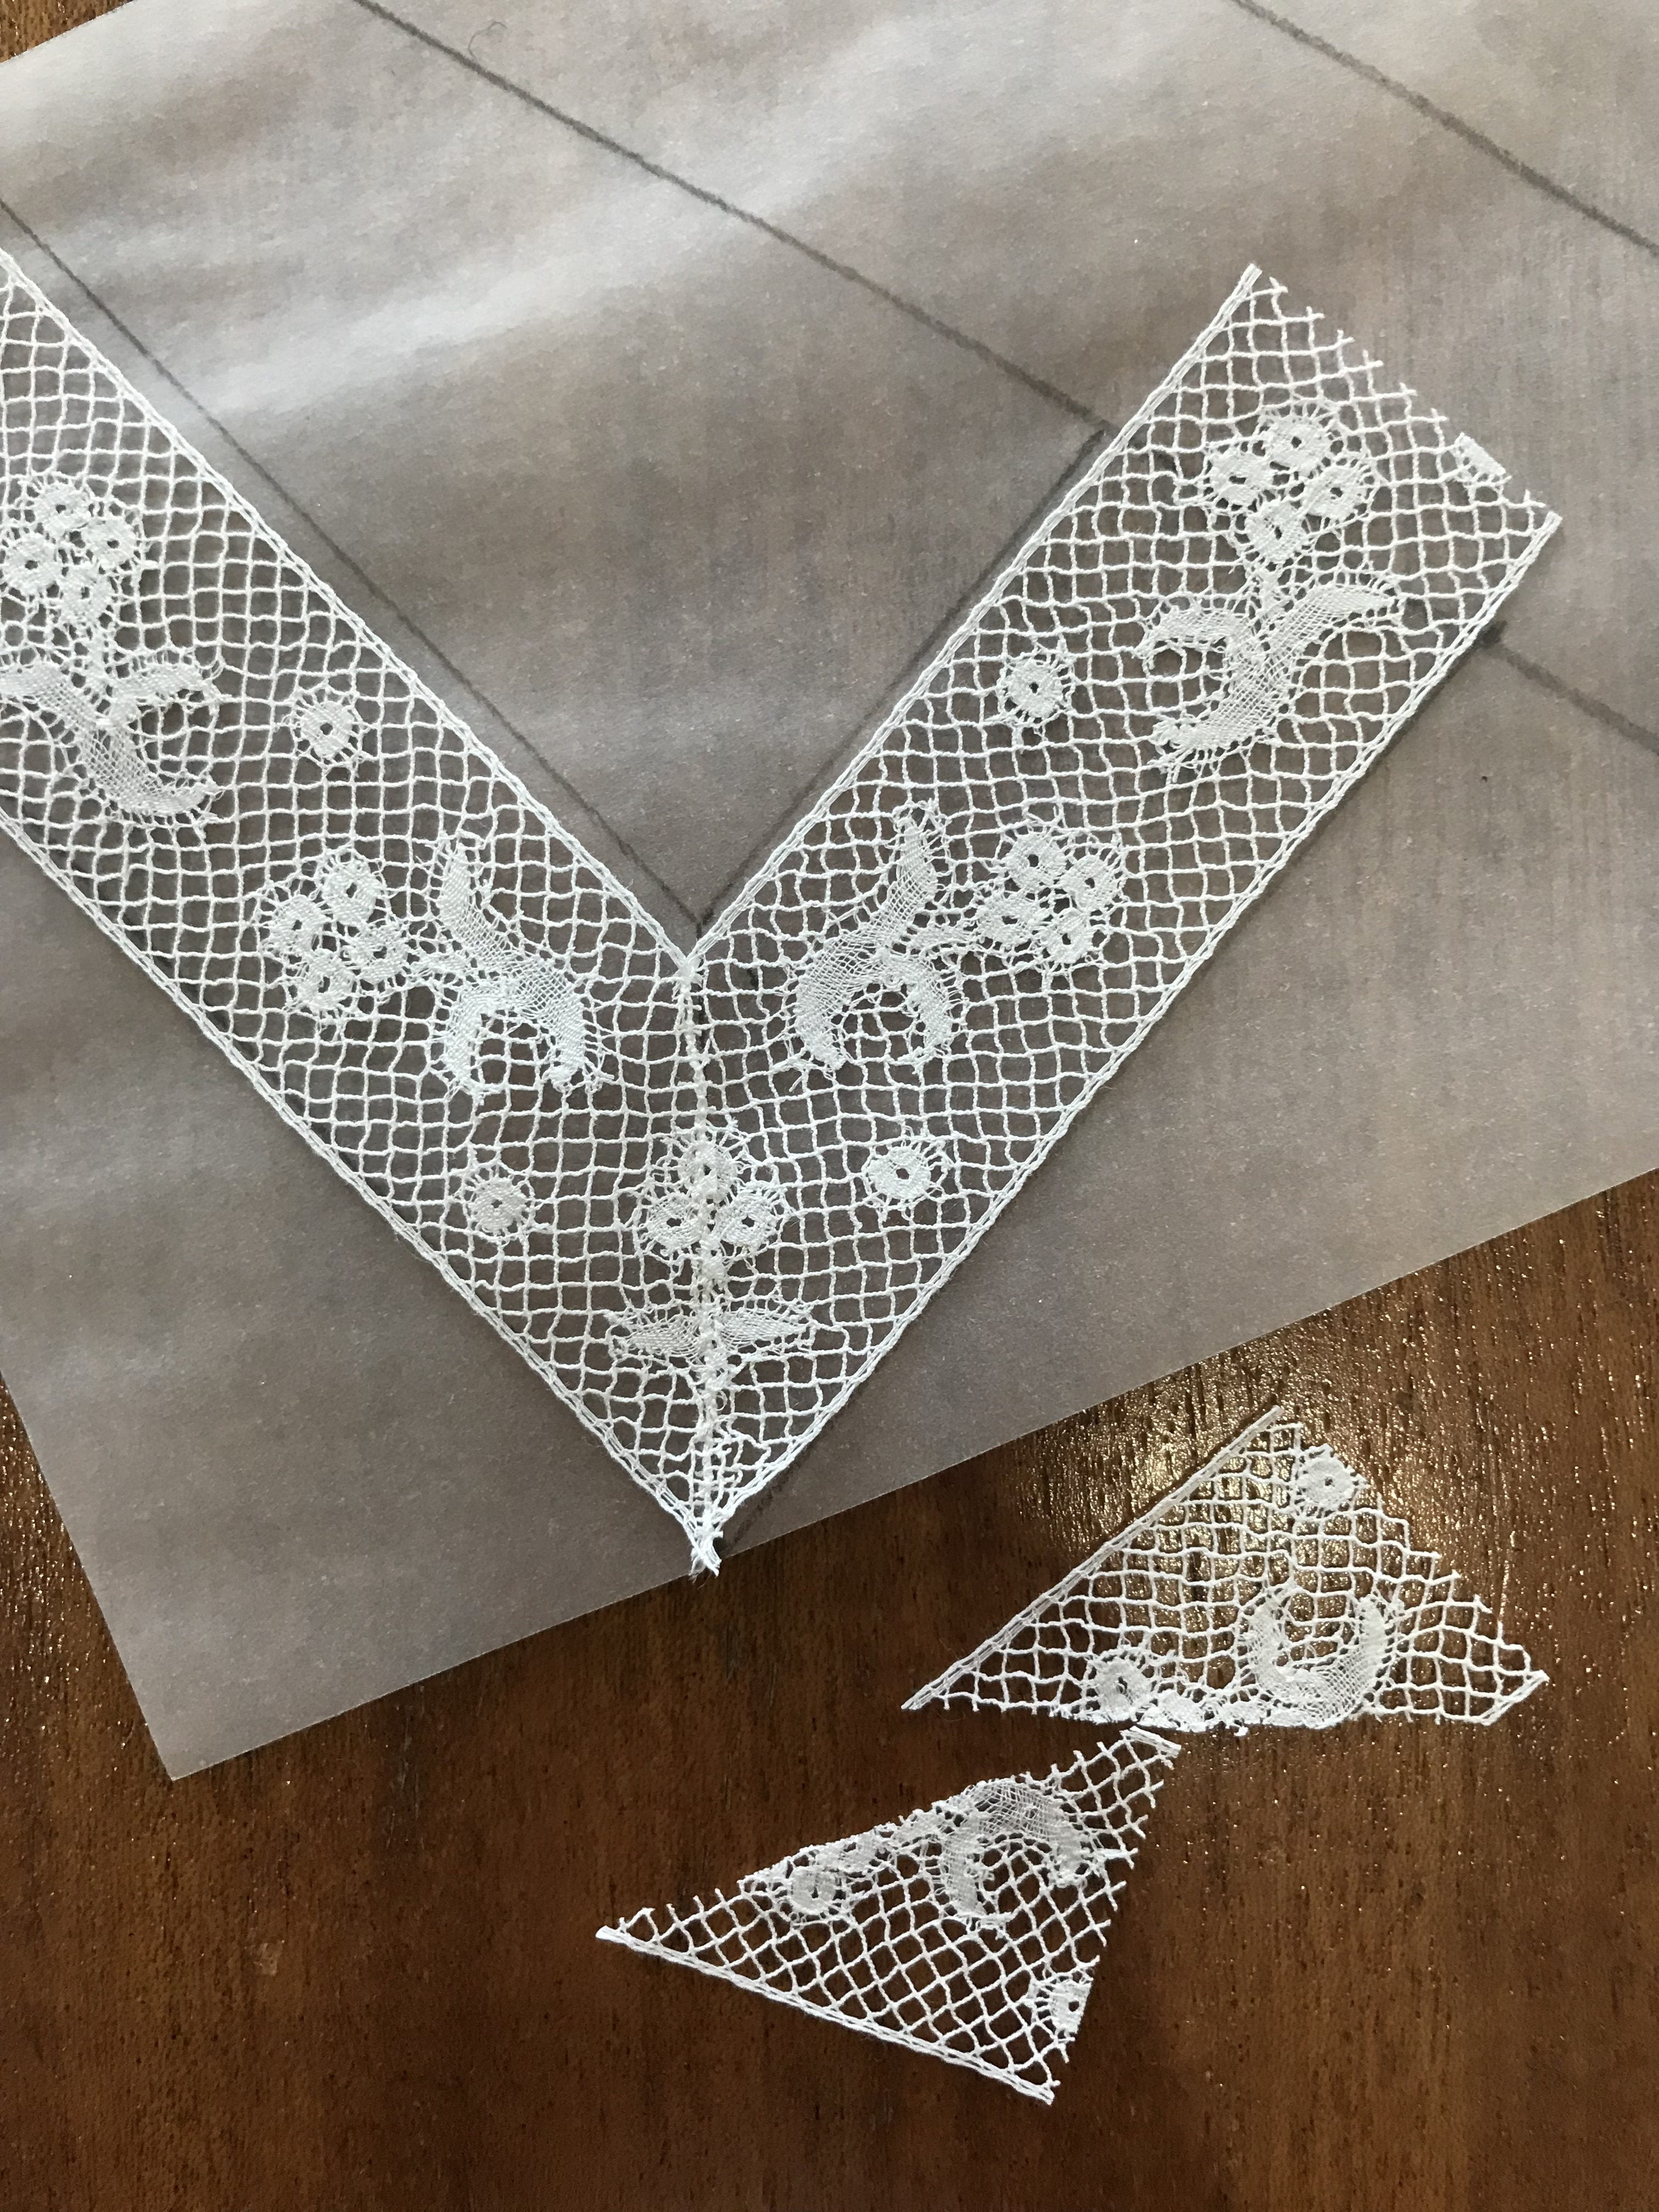
8. Refer back to template to pin the “v” shapes together. (I laid the pieces on the template, but that’s more difficult to photograph clearly.)
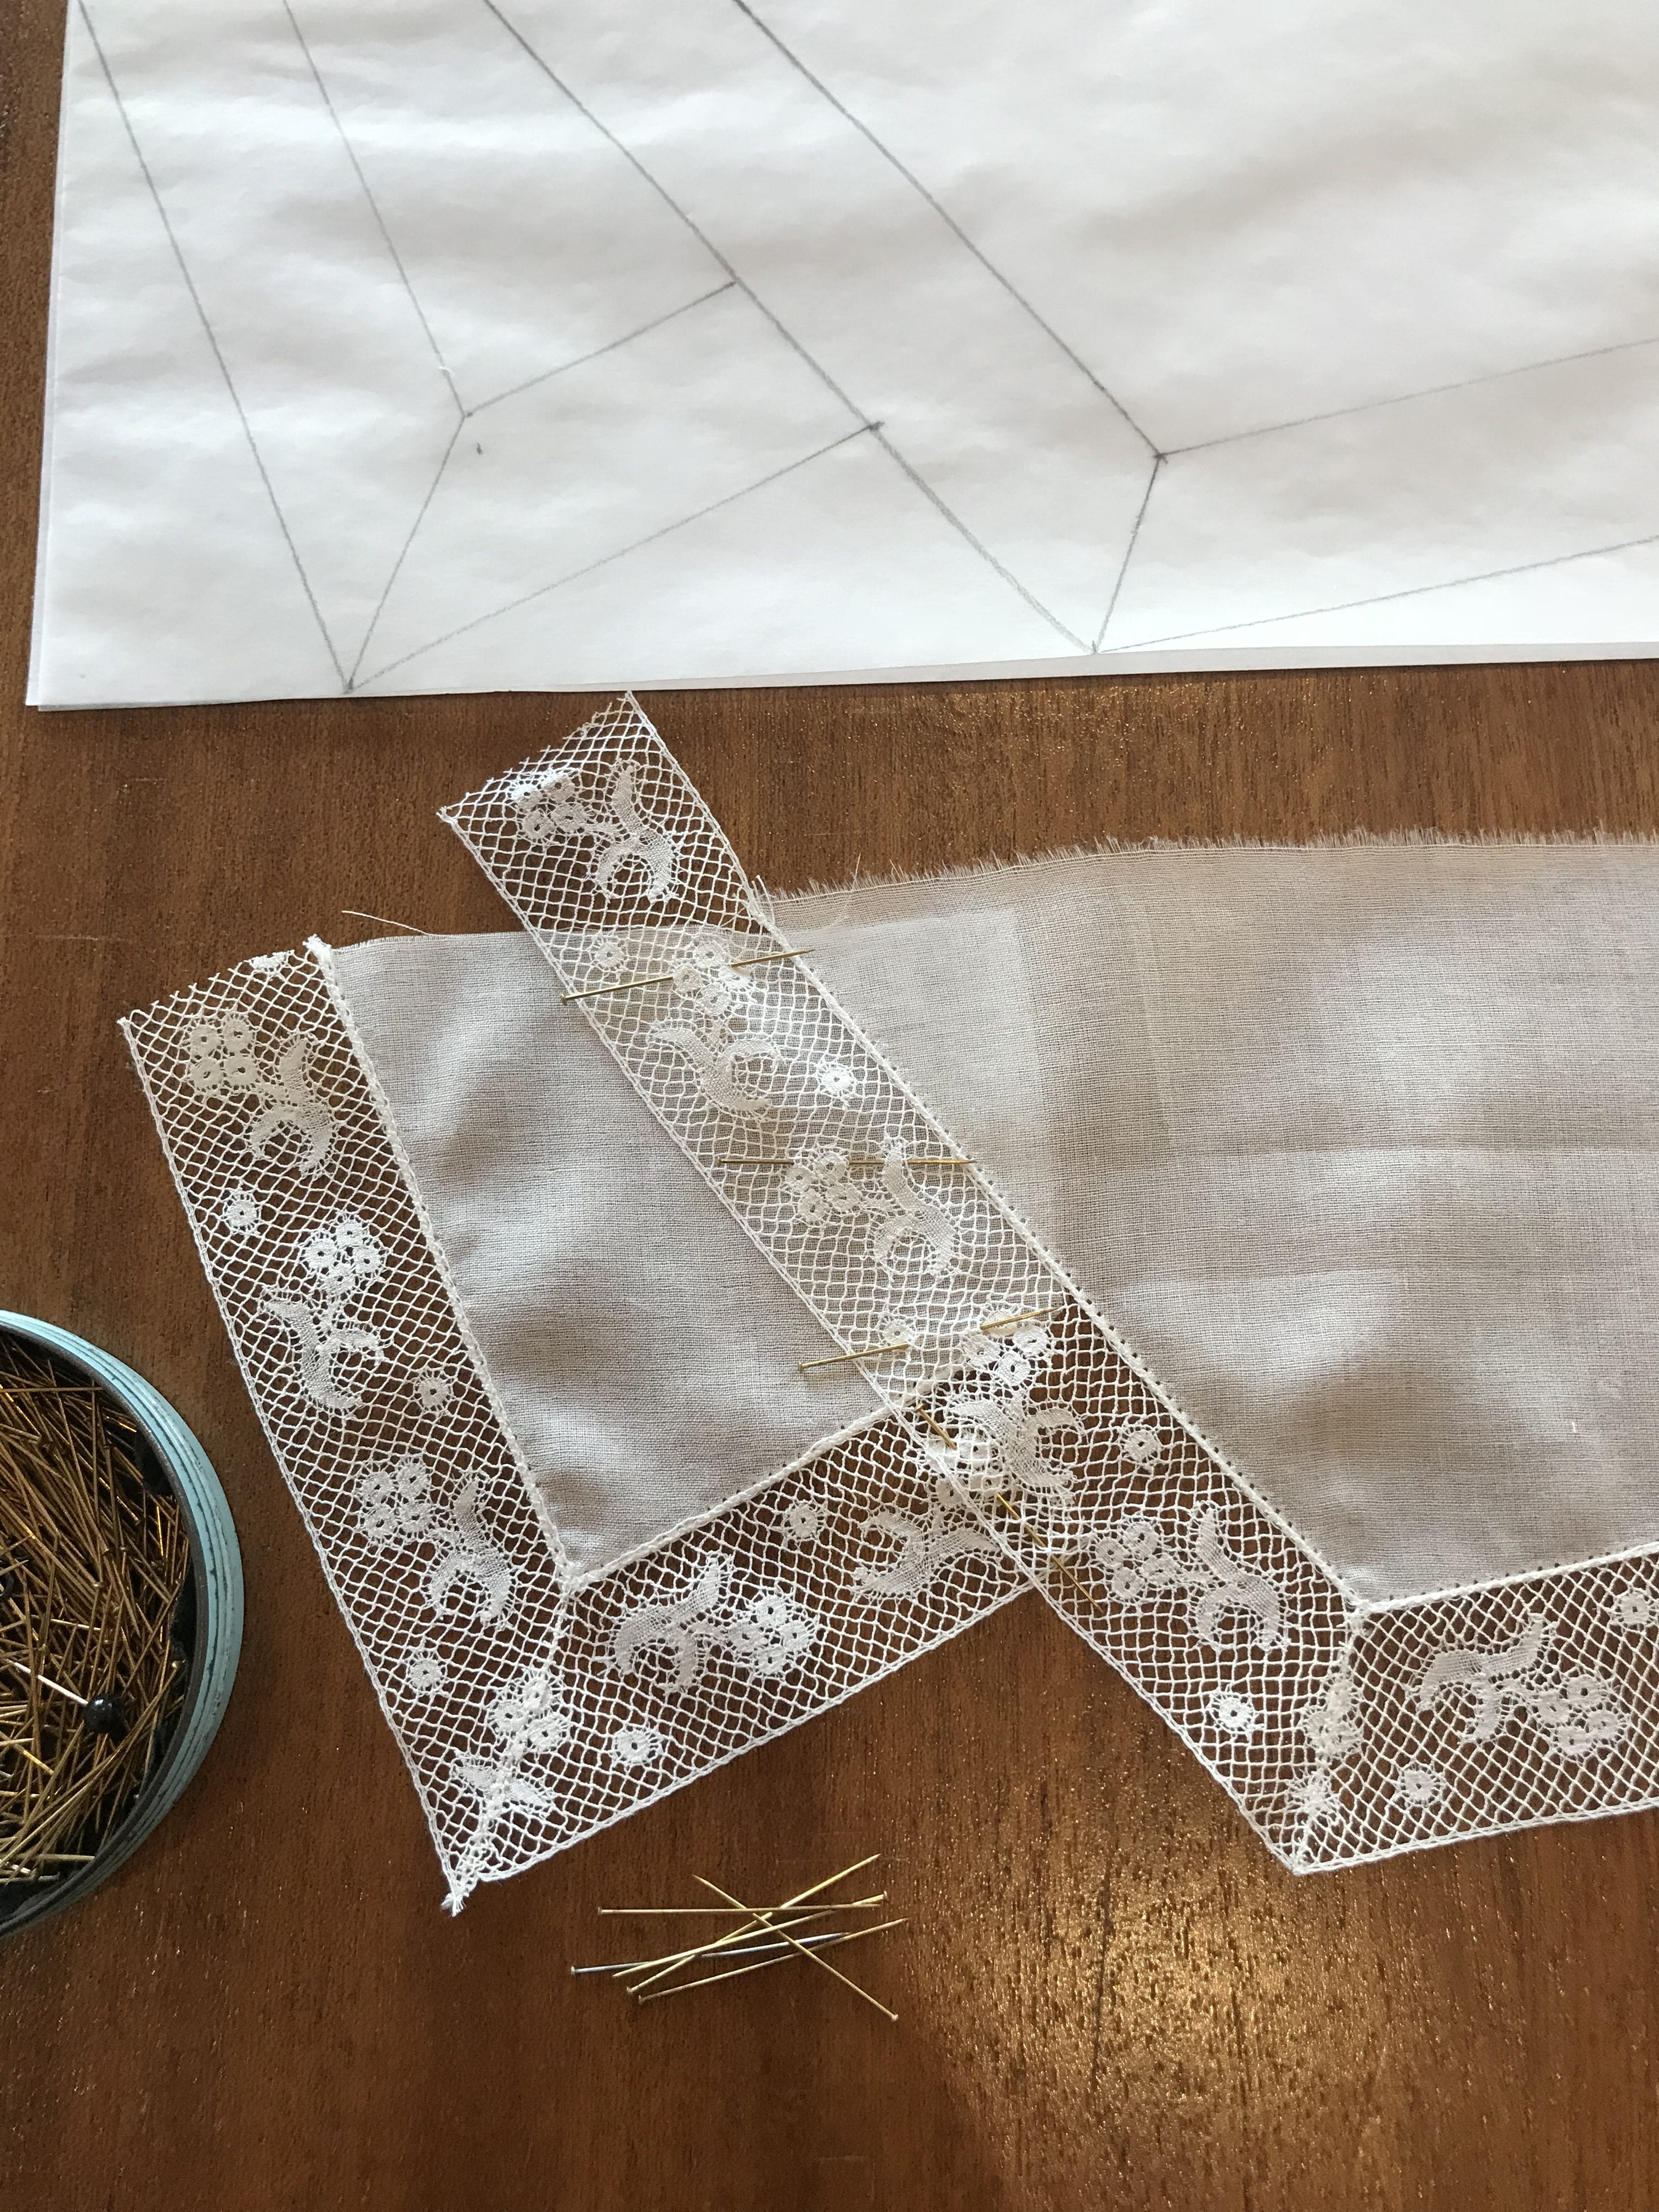
9. Pin, baste, and sew along the join as before. Fold back excess, zigzag and trim as before.
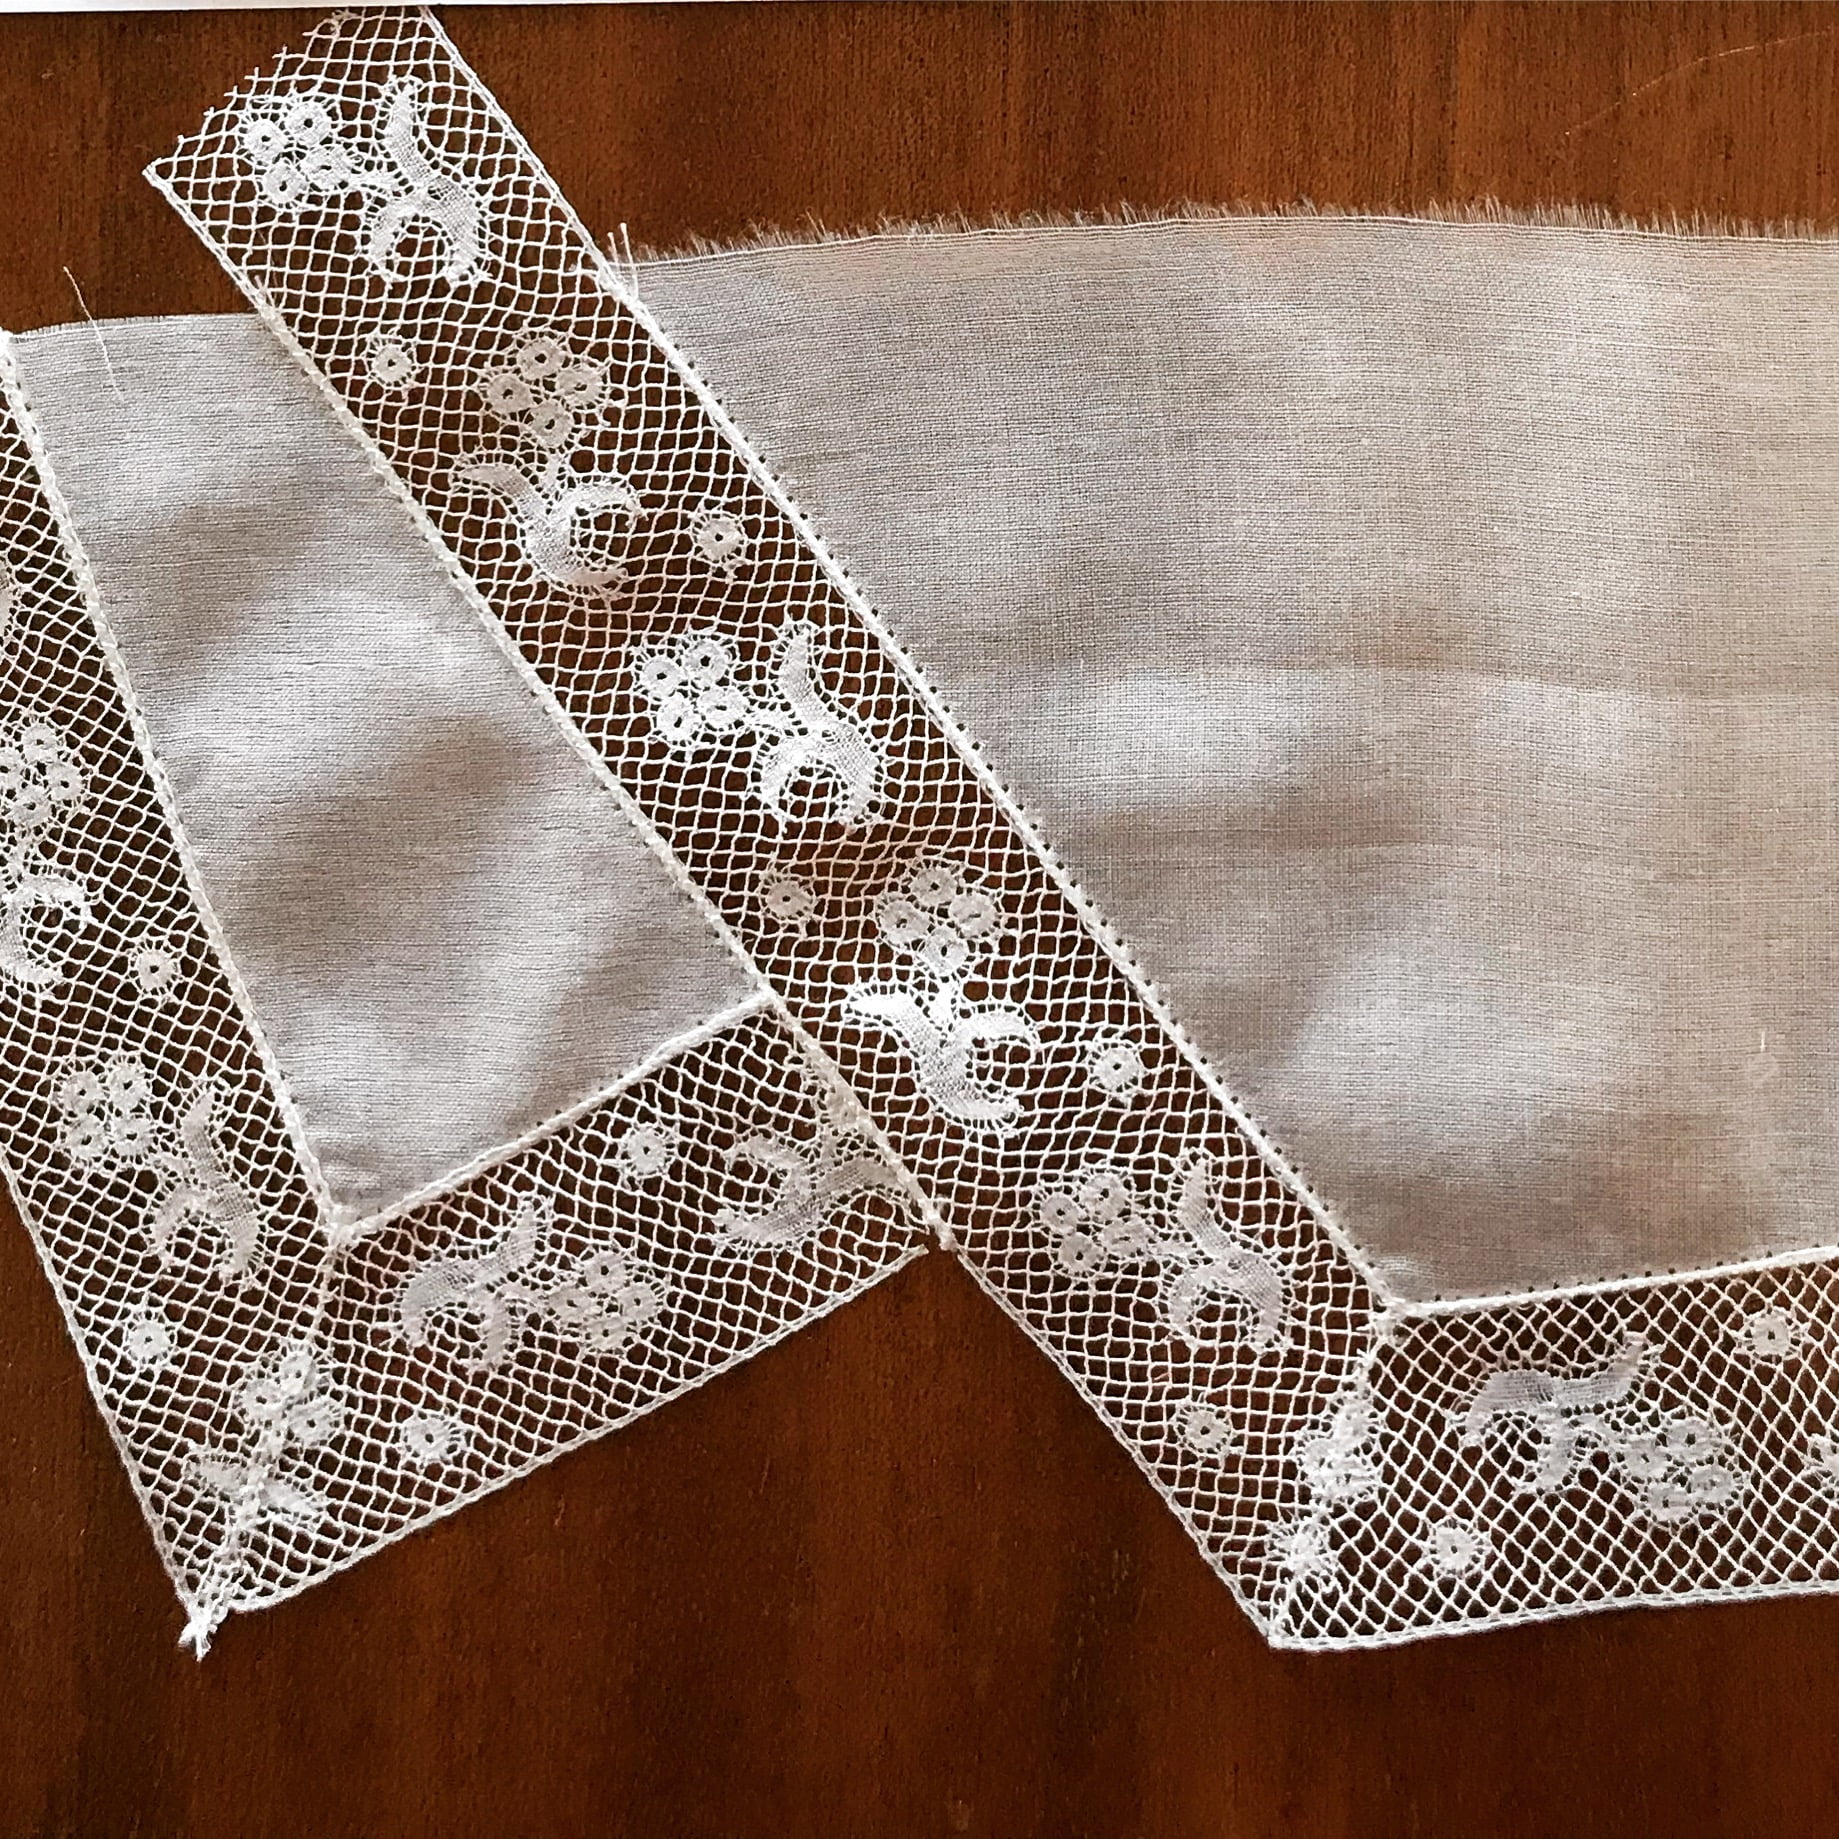
10. Assure self that you will be able to fix that screwy bit at the corner where you’ve trimmed too much at a later stage.
11. Hand sew another row of insertion on, not realising that this would have worked on the machine if you’d sewn over a layer of tissue paper.
12. Sew two long lengths of insertion together. (On the machine this time.)
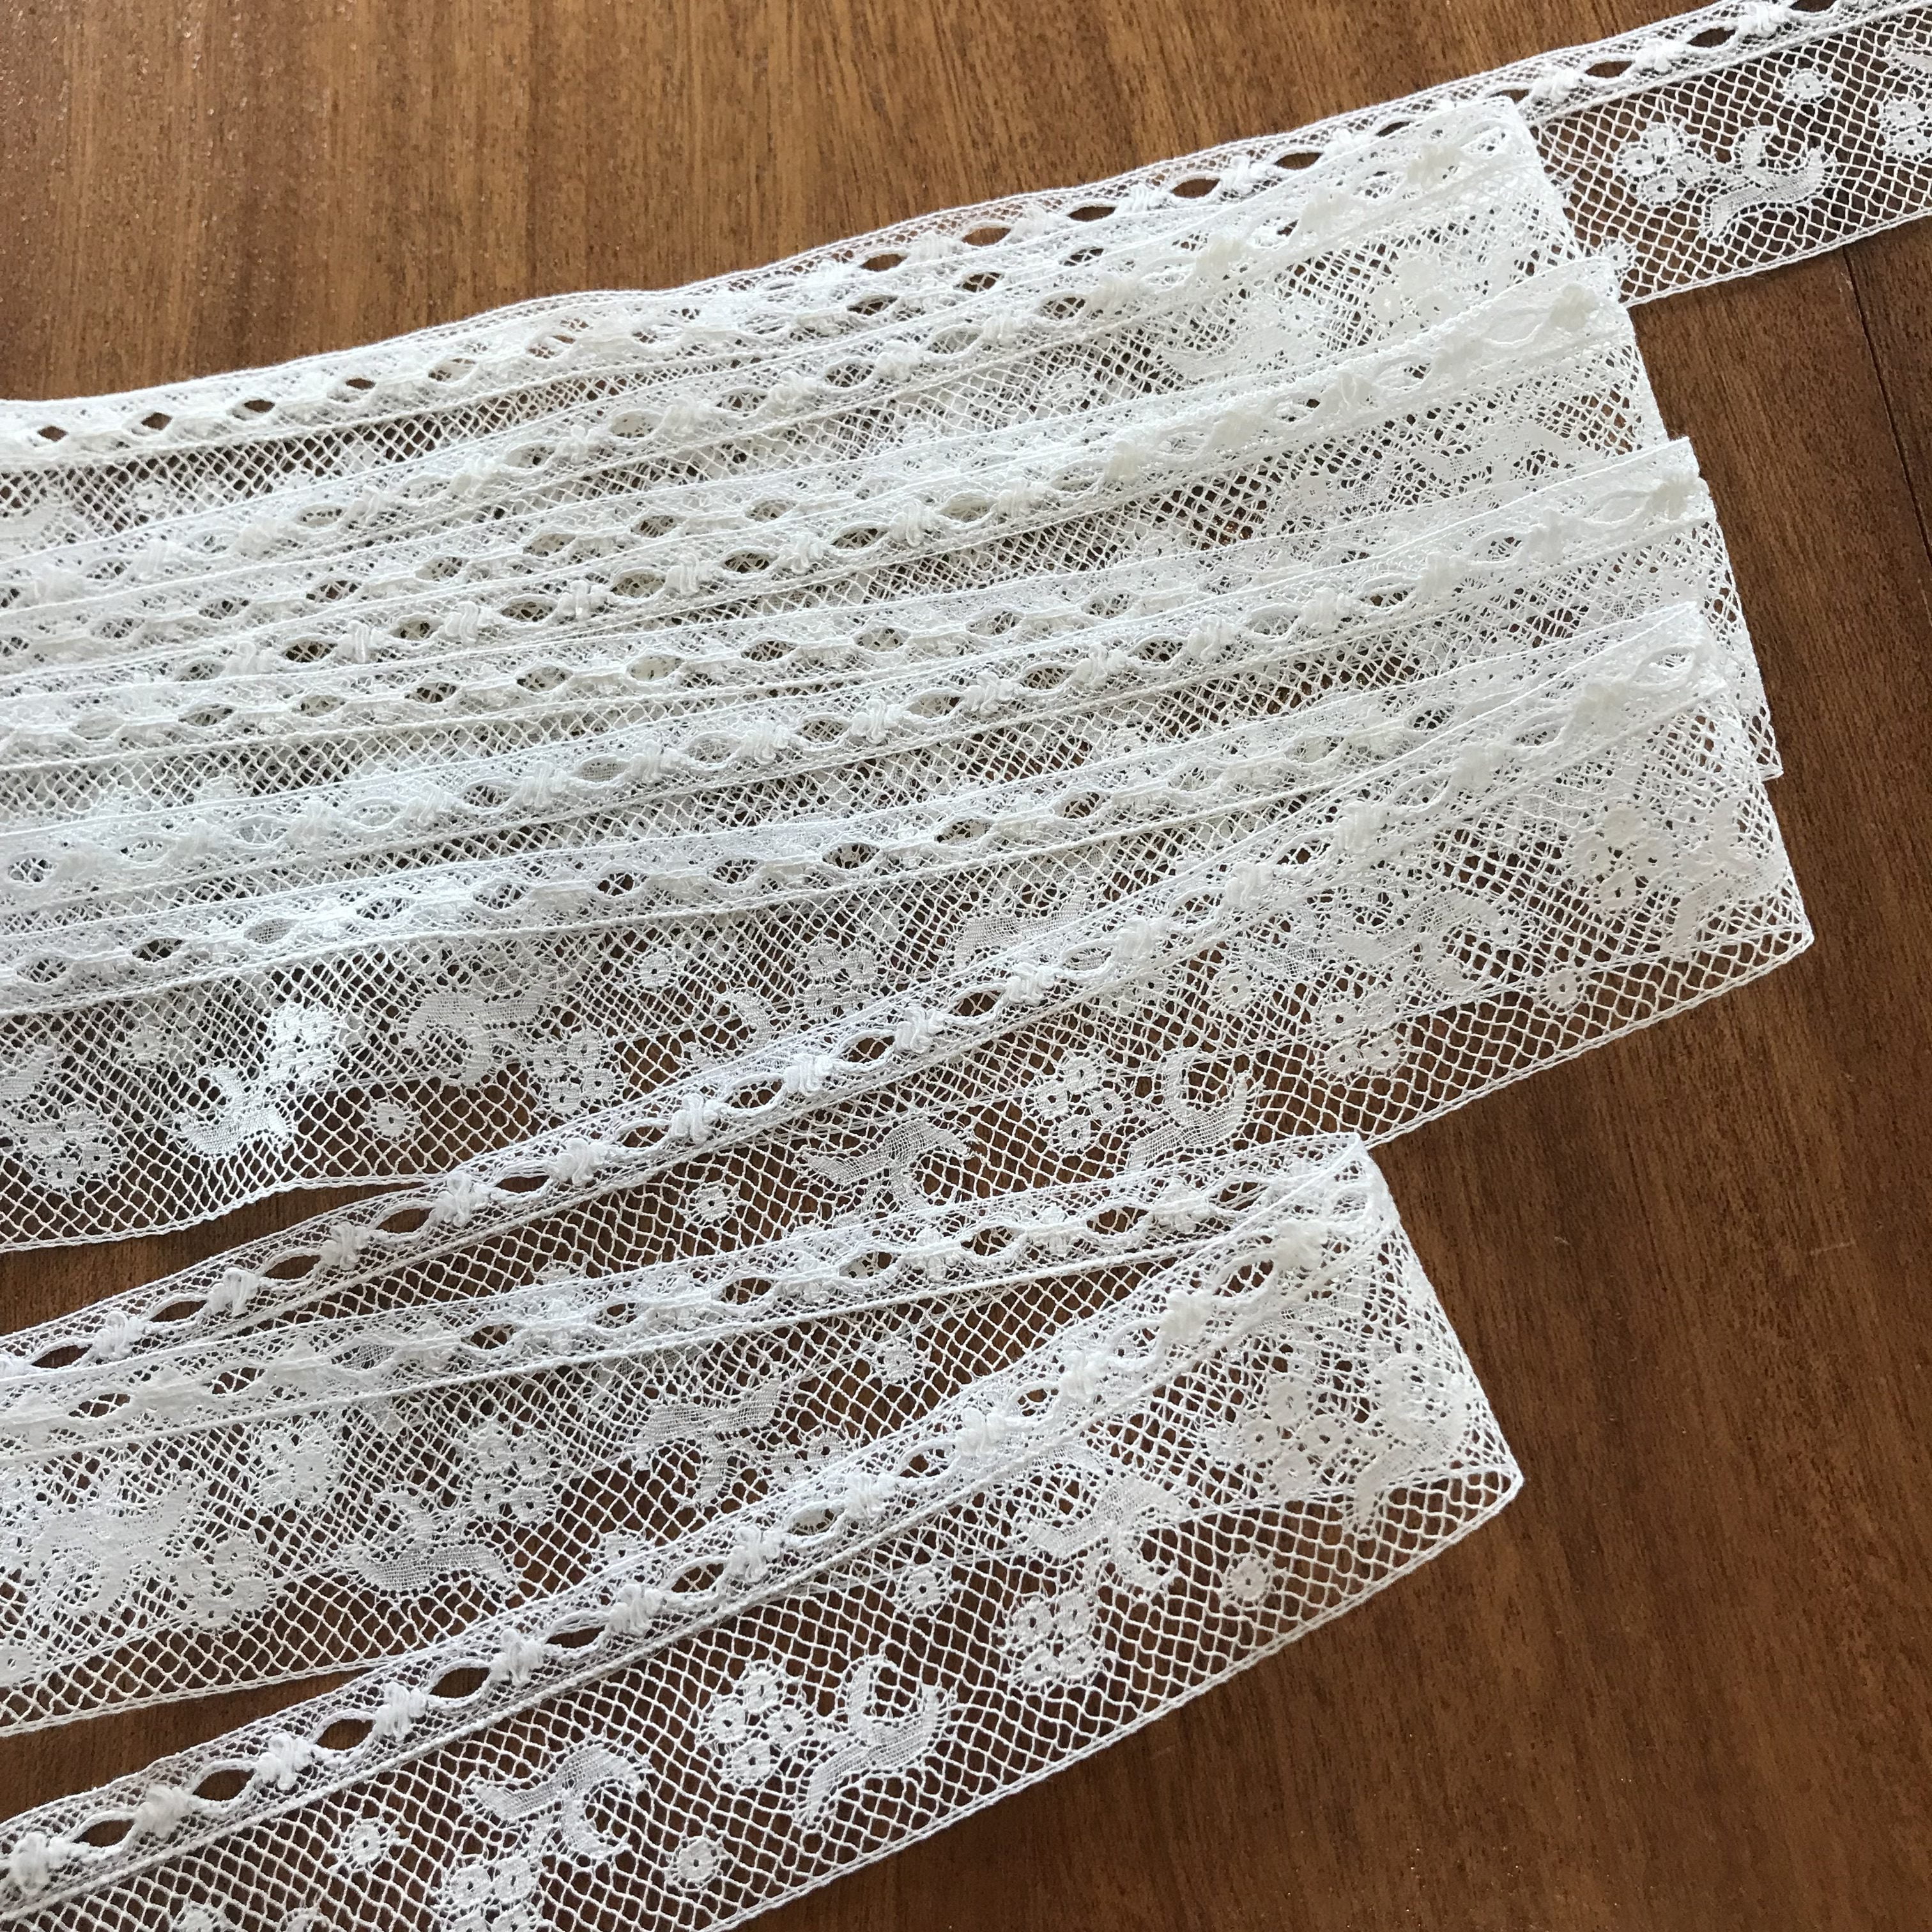
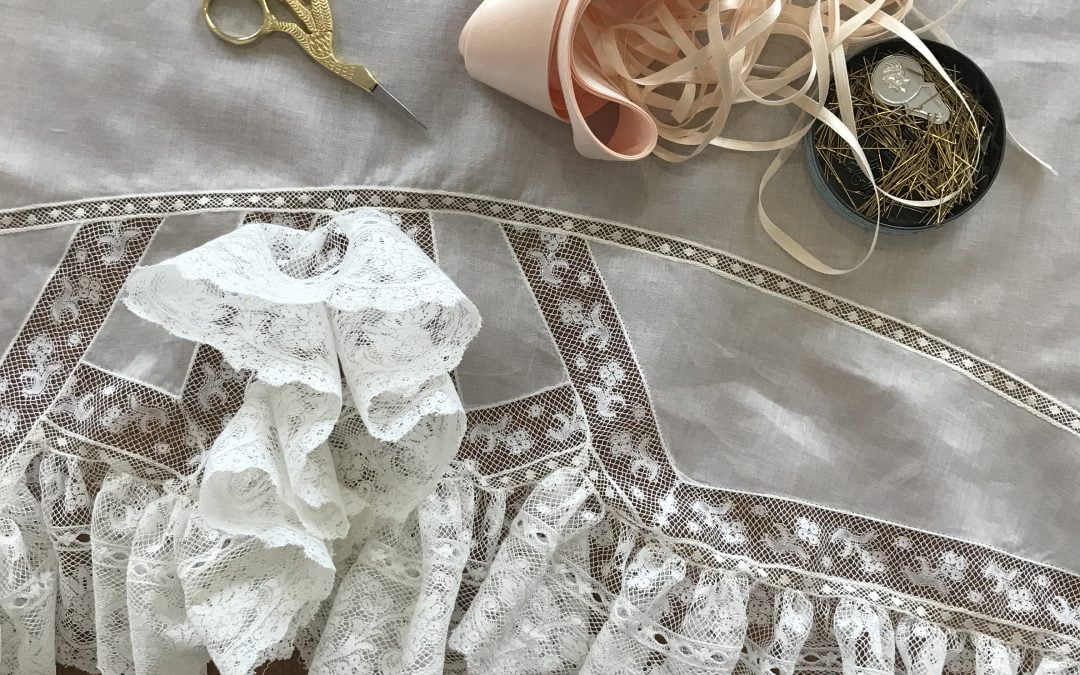
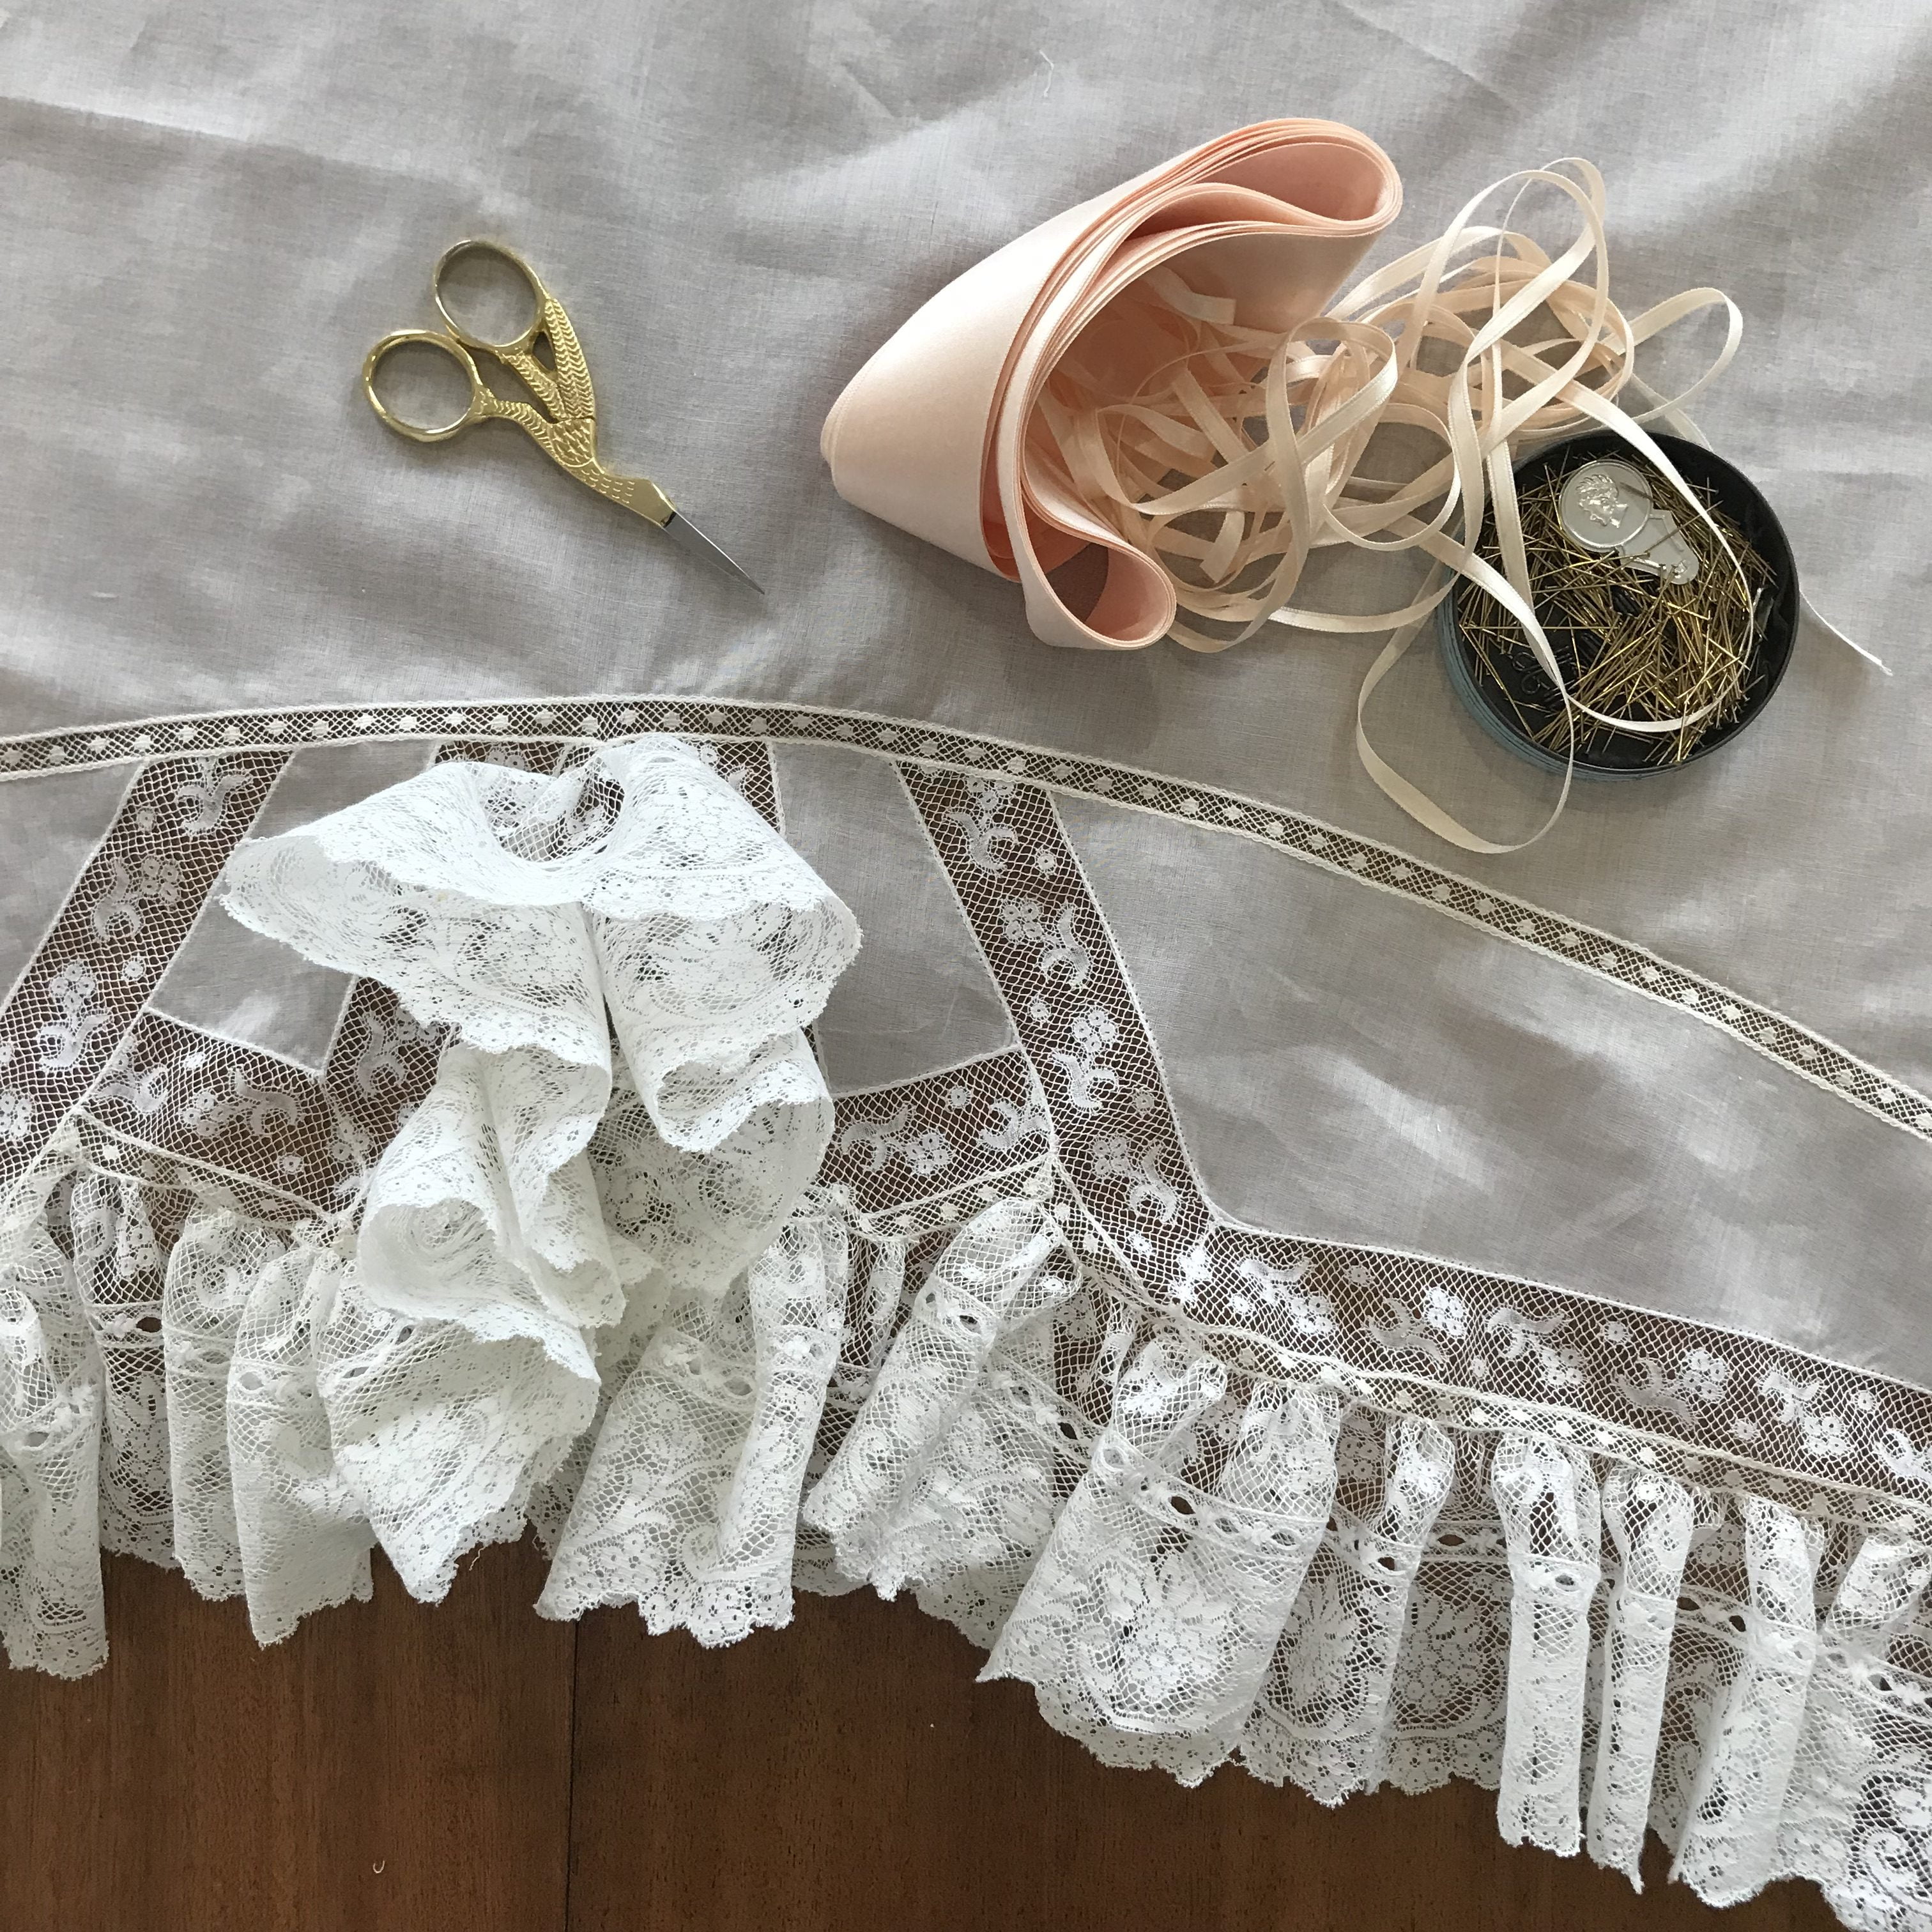
13. Add a length of edge lace, cursing the fact that the 4″ wide edge lace you really wanted to find just cannot be found. Frankenlace will have to do.
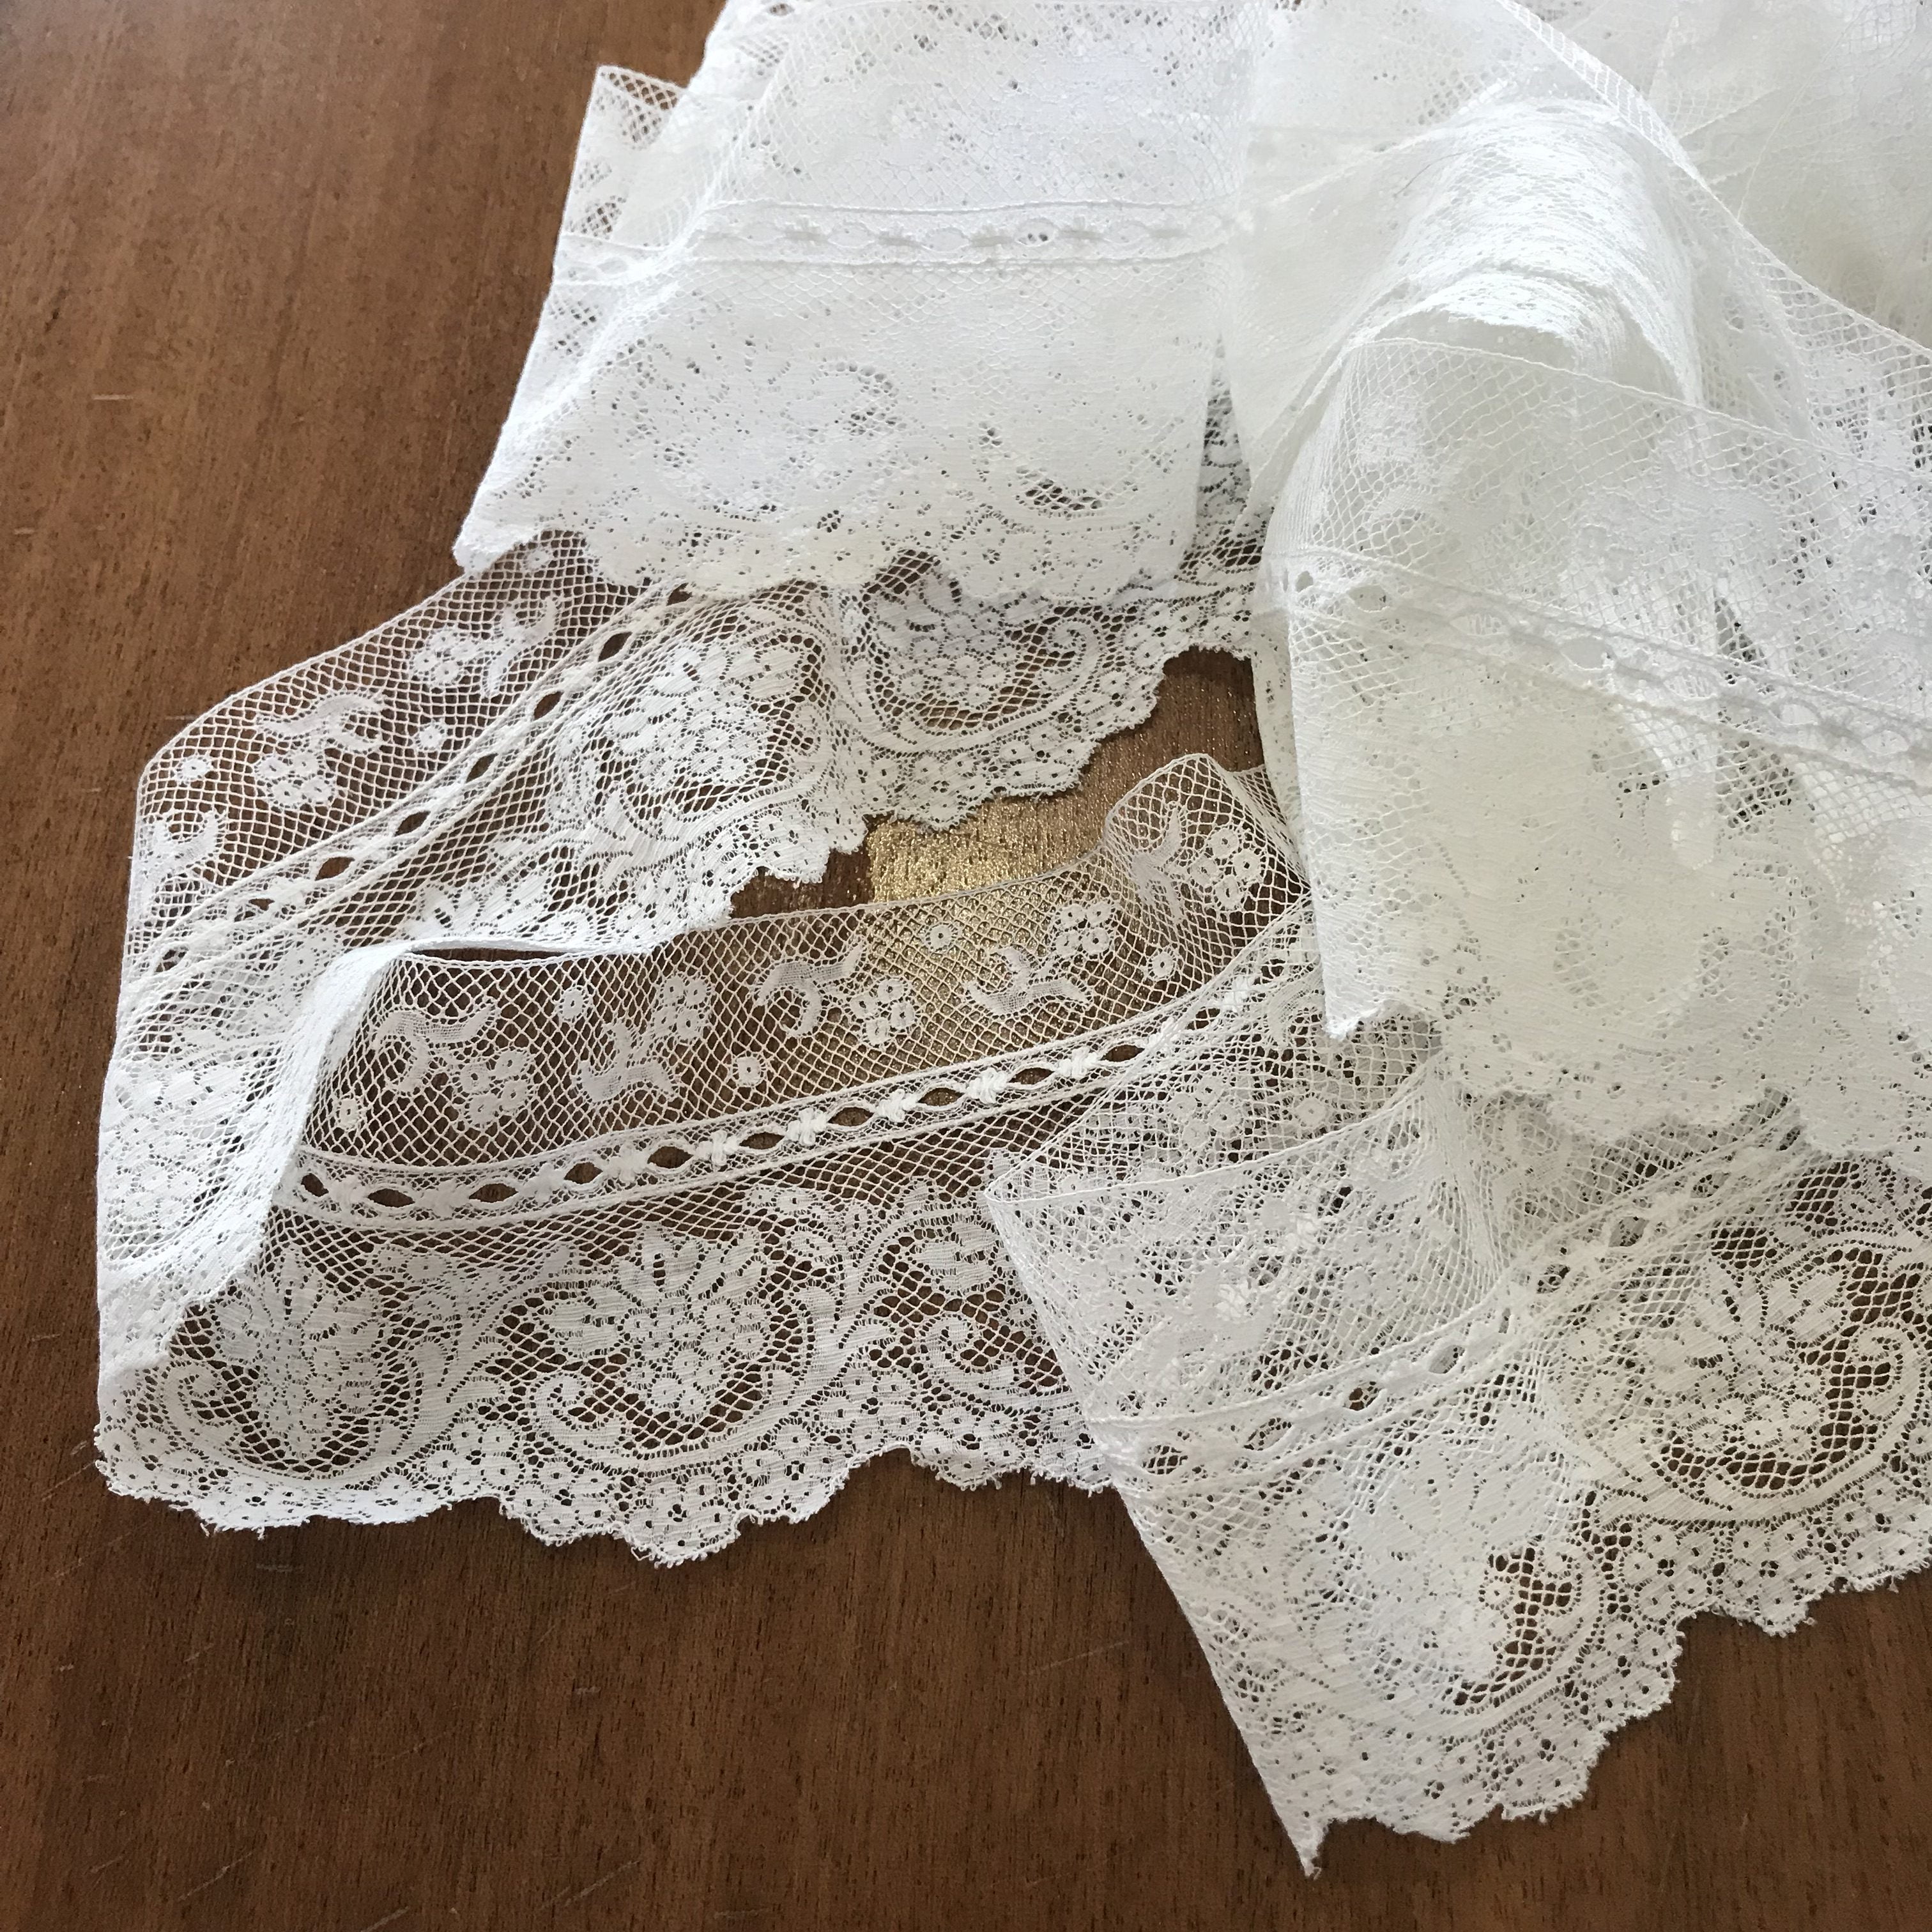
14. Gather the edge lace onto the main body of the insertion. Do this by hand for maximum control over the evenness of the gathers (and for the glory.)
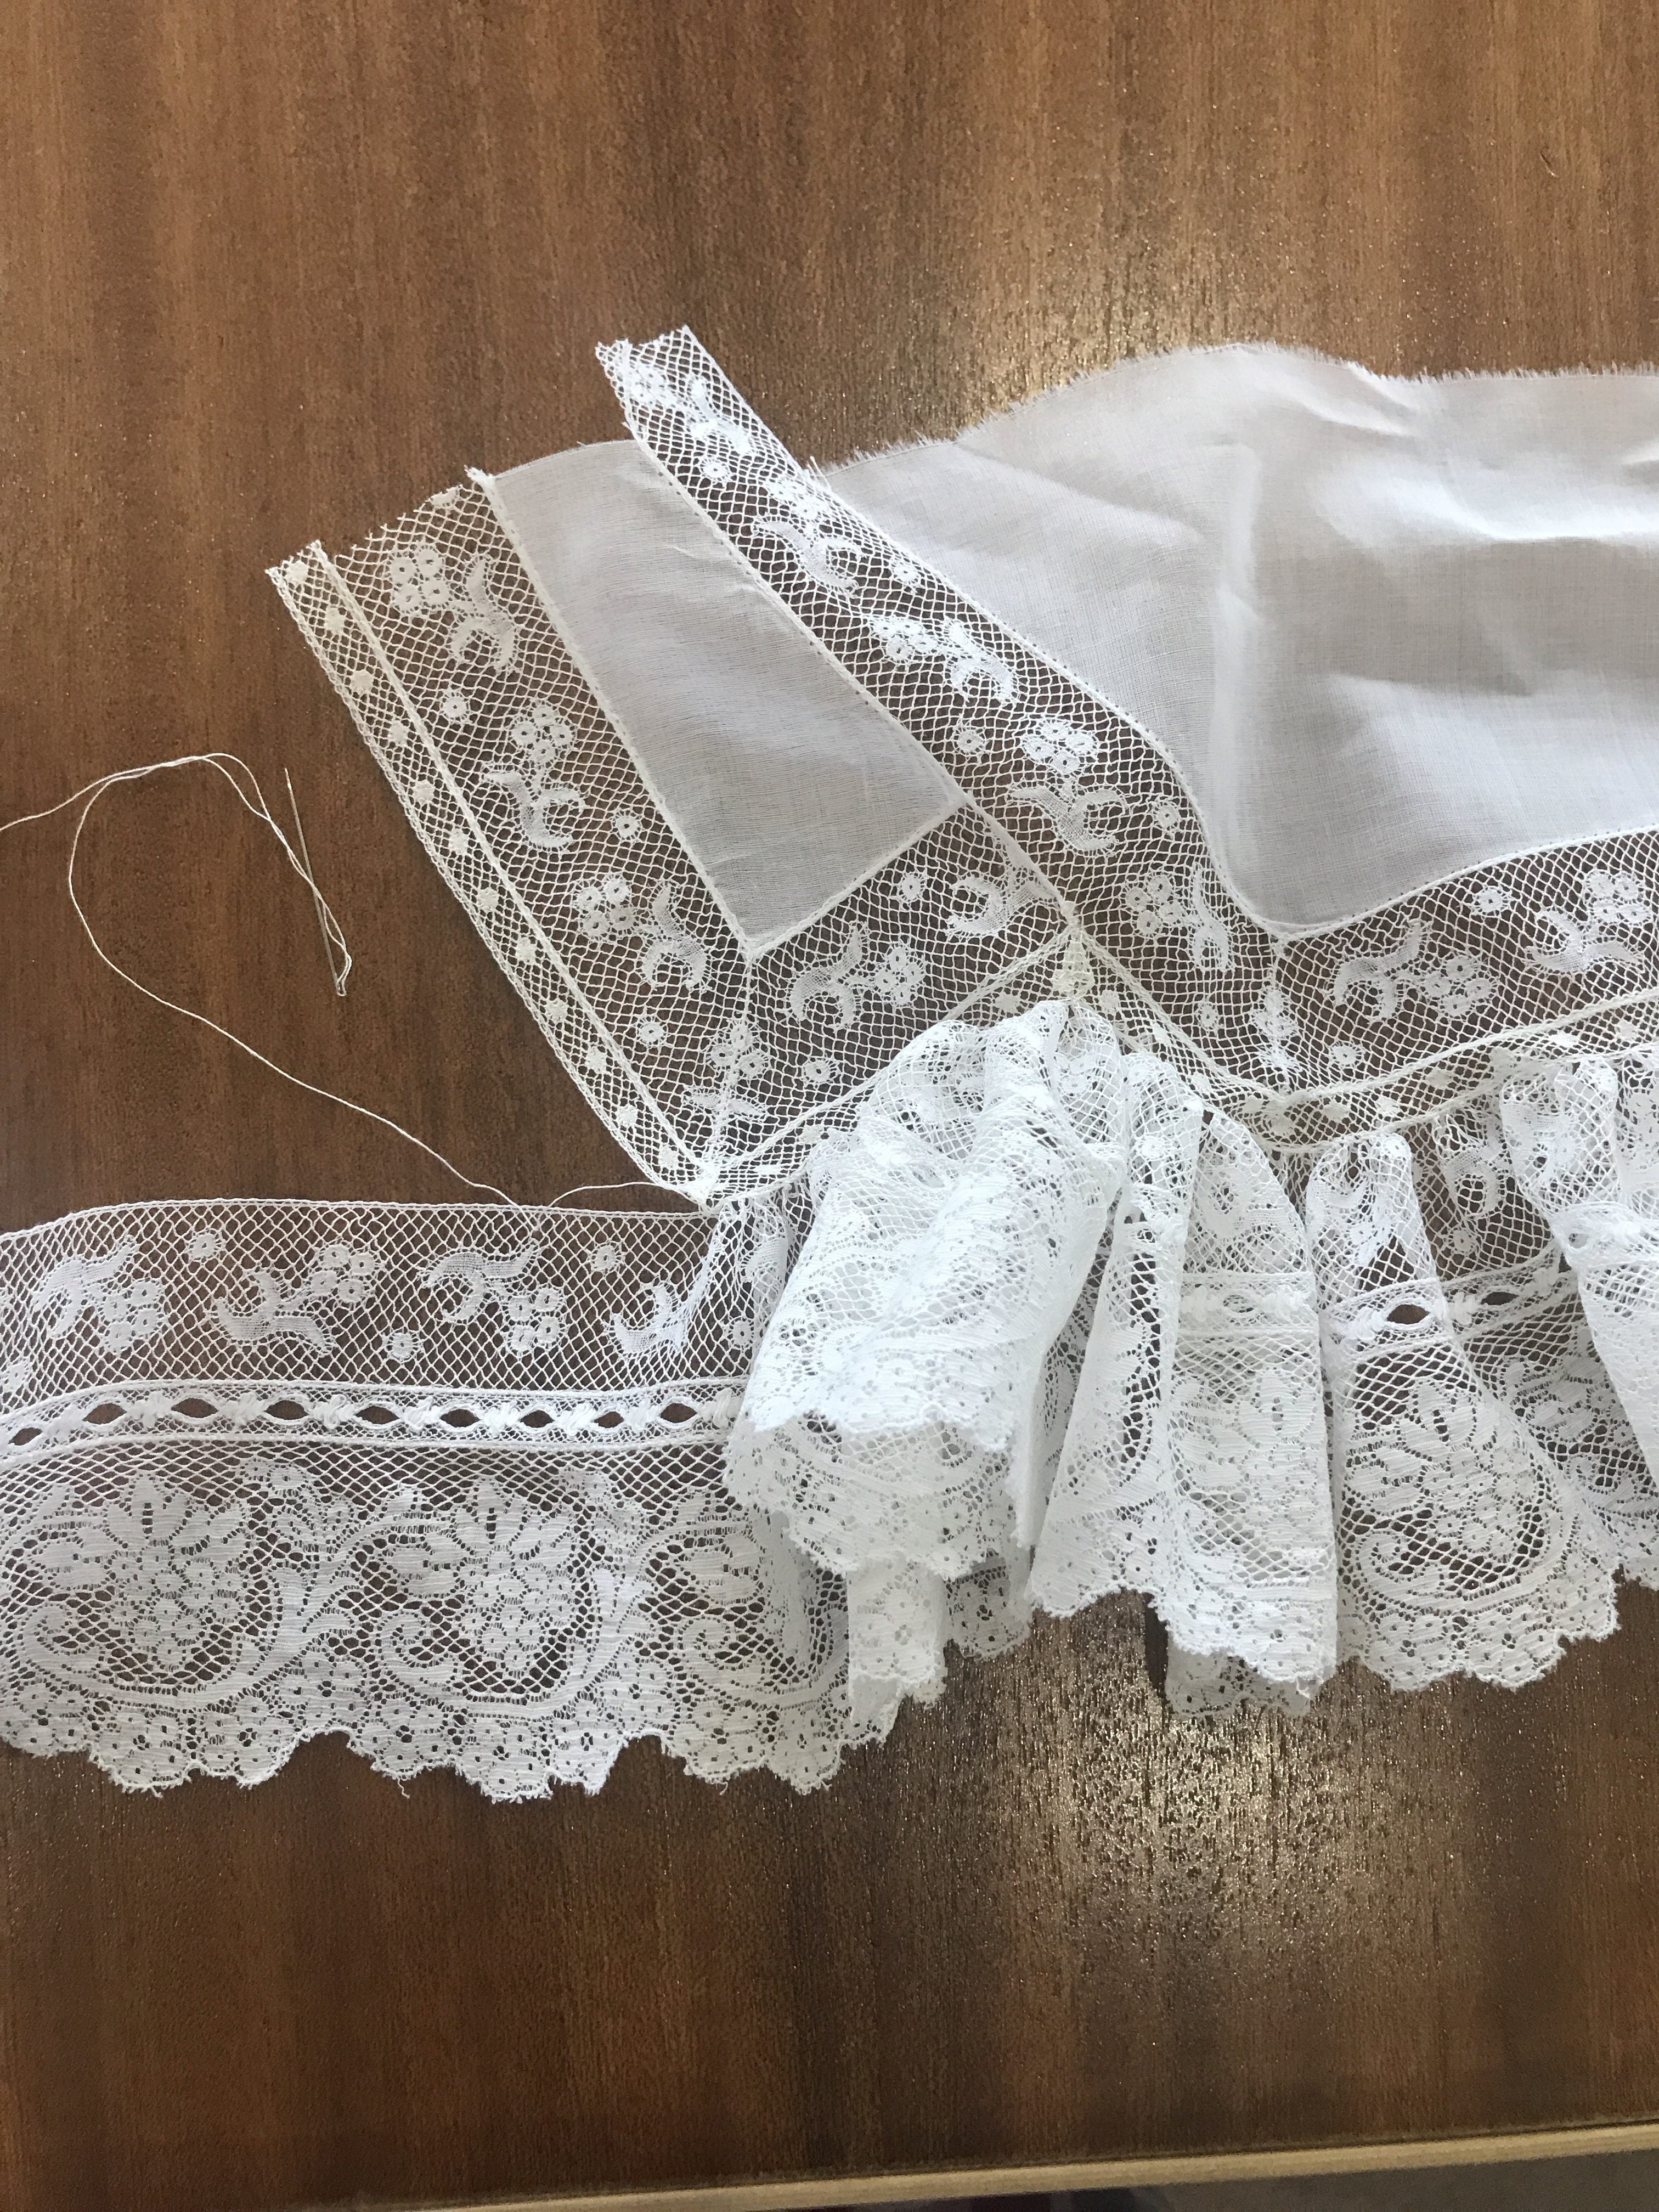
15. When you’ve gathered around one whole “w” shaped piece, add insertion across the top – this will join the two “W”s together, so that the gathered edging will carry on all the way around with no breaks.
16. Be careful to add enough volume when going around the corners. Similar to my principles on binding stays, consider the longest distance that the lace will have to travel – which is the very edge, at the bottom of the photo. Gather in a corresponding amount at the corner.

17. With the full flounce complete, cut the legs of the drawers and attach as before.
18. Ta-daaah!
19. Compare to inspiration picture and feel rather chuffed.
Wow Cathy! That is a work of art that you have sewn up! These bloomers are so so pretty that I think if I had them I would wear them around the house all day, lol! Keep up the good work!
Wicked Cool!
And great directions.
incredably beautiful. Fantastic instructions.
That’s amazing!! Such beautiful work… Thanks for posting the instructions!
These are glorious – as said by others, I’d have to wear these so others could admire my work – just too pretty! And your directions, inspired!
Holy cow! You are talented and amazing!! Thanks for the post!
Really good, thank you so much for sharing everything. They are so pretty and so much work. Inspiring.
fantastic work! thank you also for the clear pictures and the description!
Beautiful! Such dedication and skill and such a fabulous end result.
Such a generous and inspiring post Cathy. Thank you so much
Great job ! Thank you for sharing!
If I may ask, where did you get your lace from? Is it vintage? Reason I ask is, I have a nearly finished plain Natural Form petticoat that is begging for some lace trimming. Need to make a fancy chemise to go under my in-progress 1880 evening gown too.
If I may ask, where did you get your lace from? Reason I’m asking is, I have a nearly finished Natural Form petticoat that is begging for some lace trimming. Plus I am going to need to make a fancy chemise to go under my currently in-progress 1880 evening gown.
Hi Bridget! Most of it came from Lacis in Berkeley, California, where they have an astounding collection of vintage lace, although they do also have a website where you can get hold of them at lacis.com. The narrow insertion came from Farmhouse Fabrics, also online.